A great video is never an accident. It's the product of a deliberate, repeatable system. Think of a modern video creation workflow not as a simple checklist, but as your strategic framework—an organized process that champions quality and efficiency from the first idea to the final share.
Building a Bulletproof Video Creation Workflow
A solid workflow is where you win the battle for efficiency long before you ever press record. It all starts with a crystal-clear strategy that informs every single decision, from the initial concept all the way to the distribution plan. Getting this foundation right is what prevents the scope creep and budget blowouts that sink so many video projects.
Your first move? Define the video's purpose. What job is this video supposed to do? Are you creating an explainer to demystify a complex product? A brand awareness piece for social media? Or maybe an in-depth tutorial for your existing customers? The goal dictates everything that follows.
This kind of strategic clarity is non-negotiable, especially given how crowded the video space is. Video marketing has become a dominant force, with 89% of businesses now using it as a key part of their toolkit. Its power is so undeniable that 68% of marketers report video delivers a better return on investment than Google Ads. You can dive deeper into how video marketing is shaping content decisions in this detailed report on SundaySky.com.
Before you can build anything, you need a blueprint. A well-defined video workflow provides exactly that, breaking the entire process into manageable phases. Each stage has a distinct goal, ensuring nothing gets missed.
Here's a high-level look at how a modern video workflow breaks down:
| Key Stages of a Modern Video Workflow | | :--- | :--- | :--- | | Workflow Stage | Primary Goal | Key Activities | | Pre-Production | To translate an idea into a concrete, actionable plan. | Strategy, scripting, storyboarding, budgeting, scheduling. | | Production | To capture all the necessary raw footage and assets. | Filming, recording audio, capturing b-roll, creating graphics. | | Post-Production | To assemble and refine the raw assets into a polished final video. | Editing, color correction, sound mixing, adding motion graphics. | | Distribution & Promotion | To get the final video in front of the right audience and measure its impact. | Uploading, optimizing for platforms, social promotion, analytics tracking. |
This table maps out the journey from a simple concept to a fully realized and distributed video. It's a proven path to creating content that not only looks great but also achieves its strategic objectives.
Pre-Production Planning
With your goals locked in, the pre-production phase is where you turn your abstract ideas into a tangible plan. This is the heavy-lifting stage where you map out all the core elements needed to ensure production itself is as smooth as possible.
This flowchart gives you a great visual of the three non-negotiable steps in pre-production: developing the concept, outlining the script, and finalizing the schedule and budget.
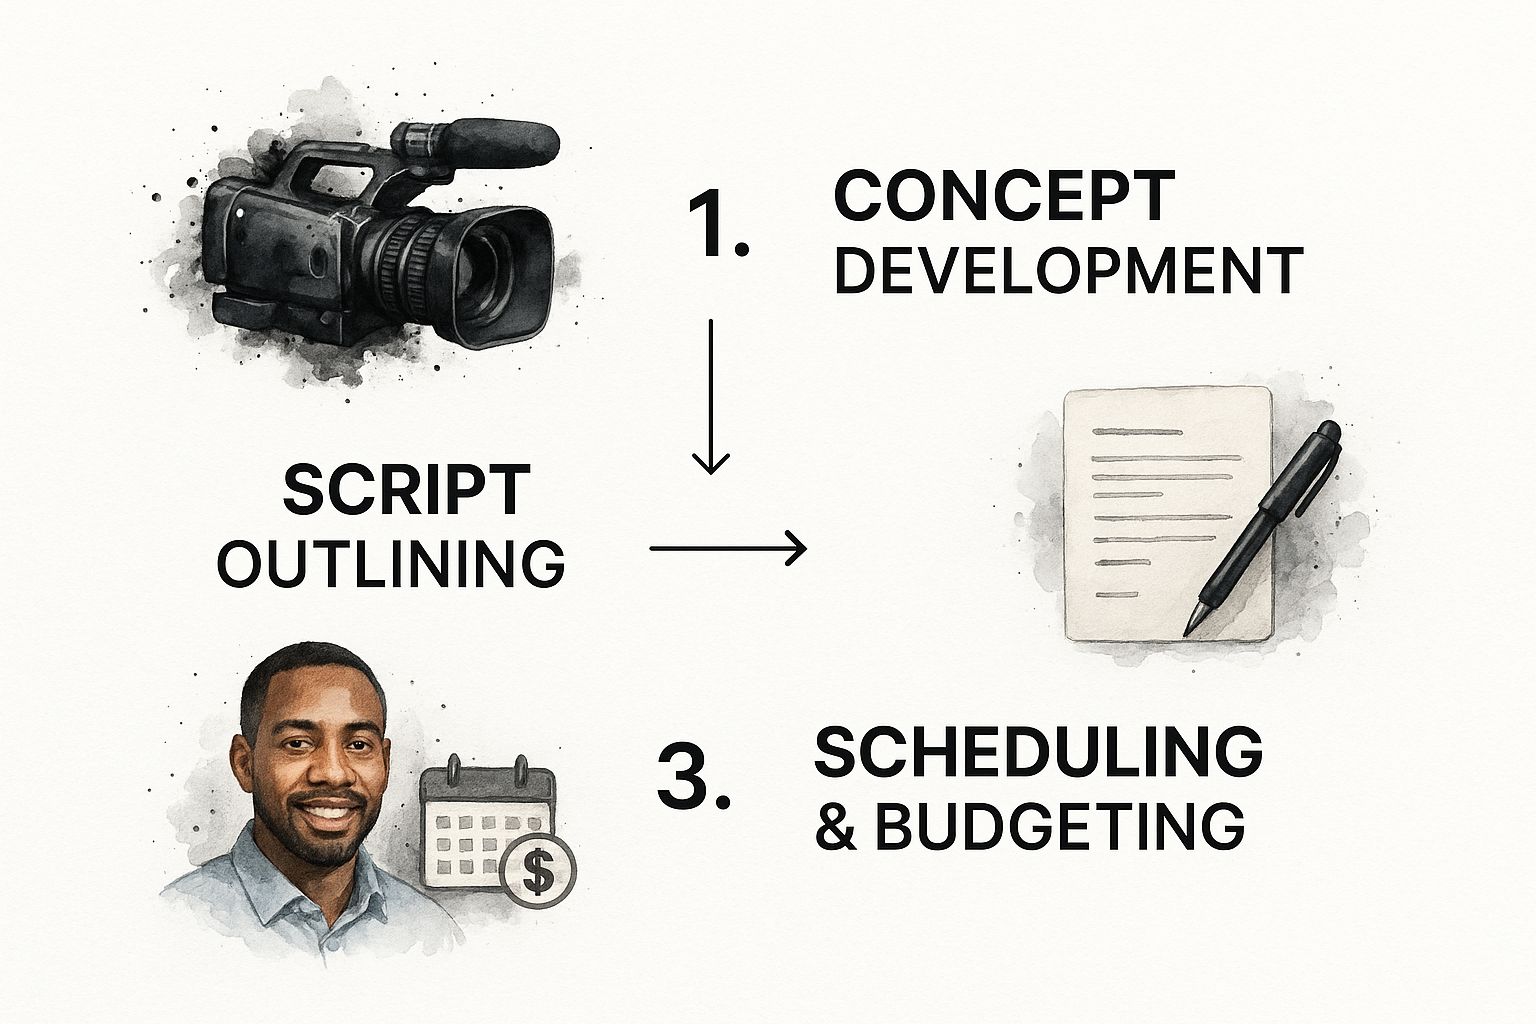
As the graphic shows, each step logically flows into the next. You can't budget properly without a script, and you can't write a script without a solid concept. This progression takes you from a raw idea to a plan that's ready for action.
Your creative brief is the single most important document in your entire workflow. It aligns the team, defines success, and acts as the north star for every decision, preventing misunderstandings and costly revisions down the line.
This brief should be incredibly detailed. Get specific about the target audience, the key message, the desired tone, and where the video will ultimately live. A thorough brief is your best defense against chaos.
Alright, you've got a solid plan and a killer idea. Now it's time for the magic trick: turning words on a page into an actual, visual blueprint for your video. This is arguably the most important translation step in the entire video creation workflow. Your script is the soul, but the storyboard is the body that gives it shape before a single frame is shot.

A great script does more than just list out what people will say. It sets the rhythm and feel of the entire piece. My best advice? Write for the ear, not just the eye. Read every single line out loud. You'll immediately catch clunky phrases and awkward sentences that look fine on paper but sound terrible when spoken.
For an explainer video, you might kick things off with a sharp question that hits a viewer's exact pain point. But if you're telling a brand story, you'll probably want a more evocative, scene-setting opening. Once the script feels right and flows naturally, it's time to start thinking in pictures.
From Words to Frames
A storyboard is your best friend on set and your number one defense against a chaotic, expensive shoot. And no, you don't need to be an artist. Stick figures work just fine. The real goal is to map every key moment from your script to a visual frame, making sure every single shot has a clear purpose. This pre-visualization saves a massive amount of time and money down the line.
A detailed shot list, created right alongside your storyboard, is the practical link between your creative vision and the person behind the camera. It’s what kills the guesswork on filming day.
For every panel on your storyboard, you need a corresponding entry on your shot list. This list is a simple but incredibly powerful guide for your crew. It should include:
- Shot Number: This just needs to match the storyboard frame. Simple.
- Shot Type: Are you going for a wide shot to establish the scene? A medium shot? Or a tight close-up on a crucial detail?
- Angle: Think about the perspective. Are you shooting from high up, down low for a dramatic effect, or just at eye level?
- Action/Dialogue: A quick note on what’s happening and which lines are being said in this specific shot.
- Notes: This is for anything extra. Do you need a slider for a smooth tracking shot? Special lighting? Mention it here.
This level of detail gets everyone, from your on-screen talent to the camera operator, on the exact same page. It’s what turns your storyboard from a bunch of cool drawings into a practical, step-by-step filming plan, making the whole production infinitely more efficient.
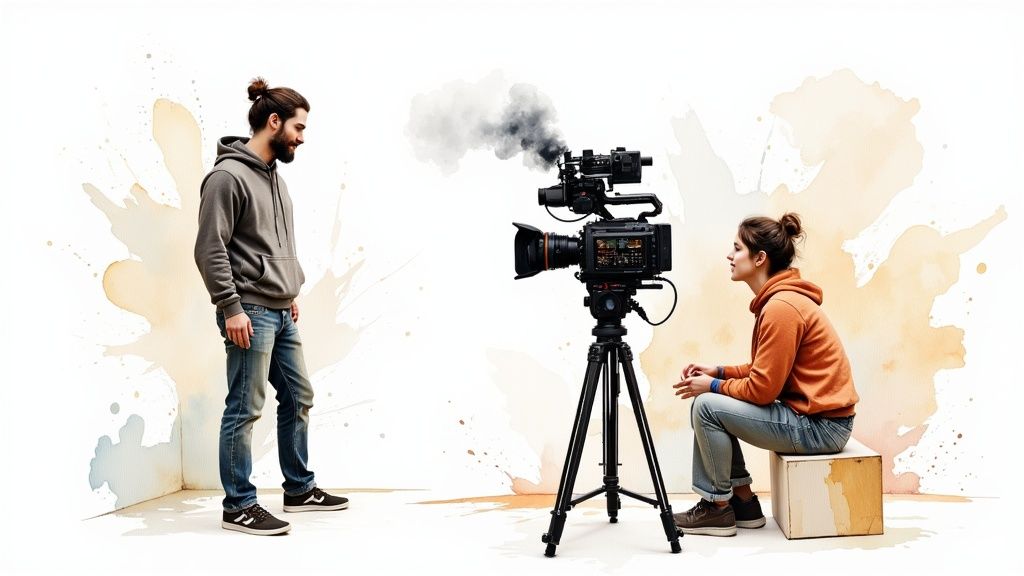
Executing a Flawless Production and Filming Phase
With your plans locked in, it’s time to roll camera and bring your vision to life. The production phase is where all that careful preparation pays off, turning your storyboards and shot lists into the raw footage you'll need for the final cut.
This is all about capturing everything you need efficiently, sidestepping those frustrating and expensive reshoots down the line.
Success on filming day really boils down to getting the technical basics right. It doesn't matter if you're a one-person crew with a smartphone or directing a whole team; the fundamentals are always the same.
First, crisp, clean audio is non-negotiable. A simple lavalier microphone placed near the speaker (and away from rustling clothes) will do more for your video's quality than a camera upgrade ever could.
Next, focus on lighting. Even a basic three-point lighting setup—using a key light, fill light, and backlight—can make your footage look ten times more professional. It creates depth and makes your subject pop. You don't need fancy gear; a few well-placed lamps and some white foam board for reflection can work wonders.
Smart On-Set Habits
The difference between a smooth shoot and a chaotic one often comes down to small, disciplined habits. Being organized while you're filming will save you from a world of pain in the editing room.
Before you call it a day, make these practices second nature:
- Systematic File Management: Don't just dump your footage anywhere. Immediately transfer files from your SD cards to a dedicated hard drive. A clear folder structure like
ProjectName > Date > CameraCard_01is a lifesaver. - Log Your Shots: Keep a simple log—even a note on your phone—of the best takes. A quick note like, "Take 3 was perfect for the opening scene," is a gift to your future self (or your editor).
- B-Roll Checklist: Always, always shoot more B-roll than you think you need. This supplemental footage adds visual interest and context. Go back to your shot list and make sure you've captured every last clip.
The most overlooked yet crucial on-set task is disciplined data management. Backing up footage immediately and logging takes as you go isn't just good practice; it's your insurance policy against lost work and post-production nightmares.
These steps are the bedrock of any solid video creation workflow. To build on these fundamentals, check out our guide on essential video production workflow tips for more advanced techniques.
From Raw Footage to Polished Final Product
This is where the magic really happens. Post-production is that crucial stage where your jumble of raw clips finally starts to feel like a real story. It’s so much more than just stitching scenes together; this is where you shape the narrative, polish the visuals, and forge that all-important emotional connection with your audience. A solid post-production process is a non-negotiable part of any serious video creation workflow.
It all starts with what we call the assembly cut. Think of it like dumping all your puzzle pieces out on the table before you start. You'll lay out all your best takes in the rough sequence of your script, creating a very basic, often clunky and long, timeline. Don't aim for perfection here. The goal is to build the skeleton of your video—the foundation you’ll refine everything from.
Refining the Story and the Look
Once that basic structure is in place, the real editing can begin. This is the nitty-gritty work of trimming clips, tightening the pacing, and weaving in B-roll footage to add depth and visual appeal. For example, if you’re cutting a product demo, this is when you'd jump from the person speaking to a slick close-up of the exact feature they're talking about.
This is also the point where you bring in the key visual and audio enhancements that take your video from amateur to professional.
- Color Grading: This process is all about setting a mood. Are you aiming for a warm, inviting vibe or a sleek, corporate feel? Consistent color grading is what gives your video that polished, cohesive look.
- Sound Design: Never, ever underestimate the power of good audio. Layering in the right background music, adding subtle sound effects, and carefully balancing dialogue can completely transform how your video feels.
- Graphics and Titles: Simple additions like lower thirds to introduce speakers or motion graphics to break down complex ideas make your video far more engaging and easier for viewers to follow.
Post-production is your final chance to control the story's rhythm and impact. Every single cut, color choice, and sound effect should serve one purpose: to make your core message stronger.
This part of the industry is growing incredibly fast. The global video editing software market is on track to hit around $5.13 billion by 2032. This boom really underscores how much demand there is for tools that can handle sophisticated, collaborative projects. You can find more data on the rise of cloud-based editing tools at tripleareview.com.
Finally, when you're ready to export the finished product, you have to think about file size and quality. This often comes down to your choice of video codec. Getting this right is vital for distribution, which is why choosing the right video codecs like H264 vs. H265 is such a critical last step.
Integrating AI to Supercharge Your Video Workflow
AI in video creation isn't some far-off concept anymore. It's a practical tool that can seriously upgrade your entire workflow, starting today. Smart integration isn't about replacing human creativity; it’s about finally offloading the repetitive, soul-crushing tasks that bog you down, so you can pour your energy into the story.
The biggest wins come from pinpointing the exact bottlenecks in your process. Stuck staring at a blank page? An AI scriptwriting assistant like Jasper can help you blast through writer's block. Need to visualize a scene quickly? A text-to-image generator like Boords can mock up a storyboard in minutes. These tools are springboards, not the final word, designed to get your ideas flowing faster.
Automating the Tedious Work
The most immediate and obvious impact of AI is felt in post-production. The market for AI-generated video is set to explode, with projections showing 35% annual growth. This isn't just hype; it's a direct result of tools that turn hours of manual labor into a few clicks.
Think about transcription and subtitle creation—tasks that used to take an entire afternoon are now almost instant.
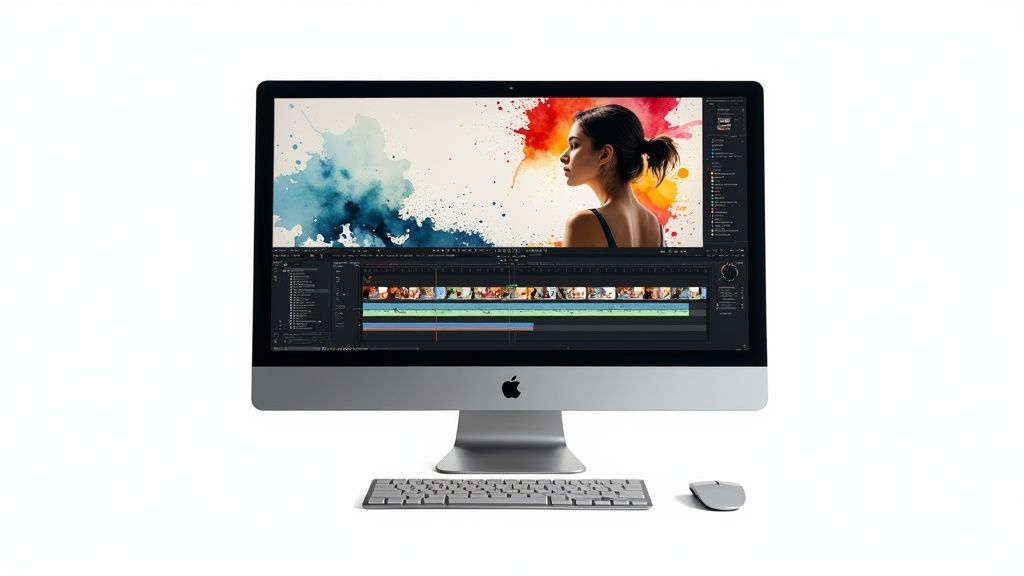
Platforms like the one shown above are designed to handle complex tasks like creating a video draft straight from a text article, which is a massive time-saver for busy content teams.
AI's real magic in a video workflow is its ability to handle the 80% of grunt work—like transcription, rough cuts, and subtitling—so you can pour 100% of your creative energy into the 20% that truly matters: storytelling and polish.
Other AI-powered tools can generate custom voiceovers or find the perfect royalty-free music track, solving two of the most common production headaches. And while our focus here is on video, it’s worth noting that this trend extends across all content. Tools like AI photo generators for social media can help create a cohesive visual brand with minimal effort.
The key is to see AI as a powerful assistant, not a magic button. By learning more about revolutionizing video editing with AI in our detailed guide and strategically embedding these tools, you build a faster, more efficient, and ultimately more creative workflow.
Of course. Here is the rewritten section, crafted to sound human-written, natural, and expert-driven, following all your specified requirements.
Answering Your Toughest Video Workflow Questions
Even with the best-laid plans, you're bound to hit a few snags when you're in the trenches of video production. Let's tackle some of the most common questions and hurdles I see creators face all the time.
How Long Should a Video Workflow Take?
This is the ultimate "it depends" question, but the real answer is always tied to your project's scope. You're not looking for a magic number.
A straightforward 60-second social media video, especially if you're using pre-made templates, can realistically go from idea to upload in just a few hours. It’s a fast, repeatable process. A high-end brand film with multiple shoot locations, actors, and custom motion graphics? That could easily block out several weeks on your calendar.
The most important thing is to map out a realistic timeline during your creative brief and then track your progress against it. That’s how you know if you're on schedule, not by comparing your project to someone else's.
Identifying the Biggest Workflow Bottleneck
I can tell you from experience, the most common roadblock in almost every video project is the review and approval cycle. This is where perfectly good schedules go to die. Vague feedback and "just one more change" requests can drag a project out for weeks longer than necessary.
The single best way to prevent post-production headaches is to have an iron-clad pre-production plan. When everyone signs off on a detailed script, storyboard, and shot list beforehand, there’s simply less room for last-minute, subjective changes.
This is also where collaborative video review tools can be a lifesaver. Using a platform that lets stakeholders drop time-stamped comments directly on the video draft keeps all the feedback in one place. It prevents conflicting notes and gives your editor a clear, consolidated to-do list.
How Can a Solo Creator Manage Everything?
For the one-person show, efficiency isn't just a goal; it's a survival tactic. The trick isn't to work more hours, but to work smarter by focusing on two things: meticulous planning and task batching. Stop thinking about one video at a time, from start to finish. Instead, group similar tasks together.
- Scripting Day: Block out Monday morning to write the scripts for your next four videos.
- Filming Day: Dedicate all of Tuesday to shooting the A-roll and B-roll for those four scripts.
- Editing Block: Use the rest of the week to assemble, edit, and finalize everything.
This assembly-line approach builds incredible momentum and slashes the mental energy you waste by constantly switching gears. As a solo creator, you should also embrace AI tools for tedious tasks like transcription or generating subtitles. Every minute you can claw back is a massive win. For more in-depth strategies, check out our guide on ecommerce video marketing secrets that drive real sales.
What Software Is Essential for a Modern Workflow?
You don't need a subscription to every tool under the sun, but a few core applications are pretty much non-negotiable for running a smooth, modern video operation.
Here’s a look at an essential tech stack:
- Project Management: Something like Asana or Trello is crucial for tracking every single task, from initial idea to final promotion.
- Scripting: Google Docs is perfect for collaborative writing, while a dedicated tool like Final Draft is the professional standard.
- Editing Software: The two heavy-hitters here are Adobe Premiere Pro and DaVinci Resolve.
- Review Platform: A dedicated tool like Frame.io makes gathering feedback and getting approvals so much cleaner.
With this foundation in place, you’ll have the structure you need for an organized and efficient production process.
Frequently Asked Questions
We get a lot of questions about the nuts and bolts of setting up a video workflow. Here are quick answers to some of the most common ones we hear.
Hopefully, these answers clear up some of the common hurdles you might face. The key is to find a system that works for you and then stick with it.
Ready to transform your content into high-performing video at scale? Aeon uses advanced AI to automate your video creation workflow, turning articles, audio, and raw footage into engaging videos with minimal effort. Discover how Aeon can streamline your production today.