
Adding subtitles to your videos boils down to three main stages. You need to get a transcript of all the spoken audio, sync that text to the video's timing so it shows up at the right moment, and then export it in a format like SRT. You can tackle this yourself with free tools, let AI software do the heavy lifting, or hand it off to a professional service.
Why Adding Subtitles to Videos Drives Growth
Before we get into the nuts and bolts of how to add subtitles, let’s talk about why it’s such a game-changer. This isn't just about ticking an accessibility box anymore; it’s a core part of any smart strategy for growing your audience and getting your content discovered.
Think about it: how often do you scroll through your social feed with the sound off? Subtitles are your best shot at stopping that scroll and pulling someone into your content when your video autoplays on mute.
This isn't just a small trend, either. The global captioning and subtitling market is on track to hit $356 million by 2025, with North America making up about 40% of that. This explosion in growth shows just how essential subtitles have become for anyone creating content for a global audience. You can dig into more stats about this expanding market over at cognitivemarketresearch.com.
Expanding Your Reach and Engagement
Right away, subtitles make your videos more inclusive and accessible to a much wider audience. Here’s where you’ll see the biggest impact:
- Catching Silent Viewers: So many people watch videos on their phones without sound, whether they're on a crowded train or in a quiet office. Subtitles make sure your message still gets through.
- Reaching a Global Audience: They tear down language barriers, making it way easier for non-native speakers to follow along and connect with what you're saying.
- Boosting Comprehension: Let's be honest, sometimes dialogue is fast, full of jargon, or mumbled. Subtitles help everyone—even native speakers—catch every word, which means they'll stick around longer.
When your content is easier to consume, people naturally watch more of it. A viewer who actually understands what you're saying is far more likely to hit that like button, share your video, and come back for more.
Unlocking Powerful SEO Benefits
Here's something a lot of creators miss: search engines can't watch a video, but they are incredibly good at reading text. When you upload a subtitle file, you’re essentially handing Google a complete, word-for-word transcript of your content.
Every keyword you mentioned is now indexed, making your video show up in search results for a massive range of new terms. For a deeper dive, explore our guide on how using https://project-aeon.com/blogs/videos-for-seo-boost-your-rankings-with-smart-strategies can boost your rankings.
Beyond just accessibility, subtitles are a massive lever for engagement and SEO. If you're using video to promote products, you can find some great ideas in these video marketing strategies that incorporate mockups.
A Practical Comparison of Subtitling Methods
Deciding how to subtitle your videos isn't about finding the one "best" way; it’s about picking the right tool for the job. Honestly, the best approach really boils down to three things: how much you can spend, how quickly you need it done, and how accurate the final product needs to be.
There’s no one-size-fits-all answer here. For a quick social media clip, an AI tool that gets you 95% of the way there in a few minutes is a no-brainer. But if you're subtitling a dense technical webinar full of specific jargon, you'll want to either do it by hand or hire a pro to make sure every single term is perfect.
This infographic breaks down some of the core reasons you might be adding subtitles in the first place.
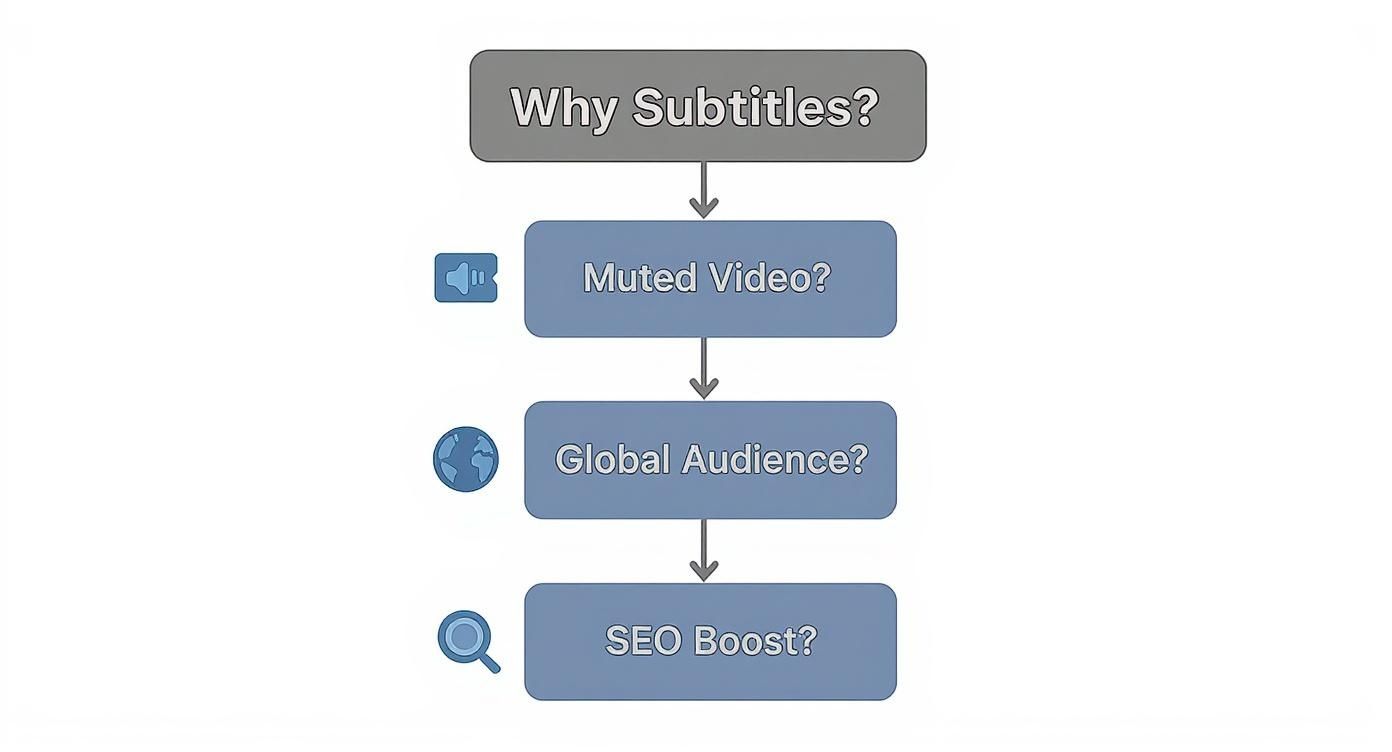
Whether you’re trying to capture silent viewers on their commute, expand into new markets, or give your SEO a boost, your "why" often points you directly to the best "how."
The Three Main Ways to Add Subtitles
To help you make the right call, let's unpack the three main paths you can take. Each comes with its own trade-offs between speed, cost, and the level of control you get.
- AI-Powered Tools: These services use Automatic Speech Recognition (ASR) technology to generate subtitles almost instantly. They're incredibly fast and budget-friendly, which makes them perfect for high-volume content like social media videos or internal training where speed is the top priority.
- Manual Creation: This is the hands-on approach. You transcribe and time the subtitles yourself using either free or paid software. This gives you absolute control over every word, the timing, and the styling—ideal for creative projects or when precision is non-negotiable.
- Professional Services: When accuracy is everything, hiring a human transcriptionist or a full-service agency is the only way to go. This is the gold standard for high-stakes content like legal depositions, broadcast television, or premium online courses.
The global subtitle generator market is growing fast, fueled by the explosion of online video. Modern ASR tools can now hit 90% to 98% accuracy with clear audio, which explains why AI has become such a popular choice for so many creators. You can learn more about these subtitle technology trends from Archive Market Research.
Comparing Subtitling Methods
Sometimes seeing the options side-by-side makes the choice obvious. This table gives a quick comparison of the three main ways to create subtitles, helping you decide which is the best fit for your next video project.
Ultimately, the goal is to match the method to the mission. A quick, cheap AI tool is perfect for some projects, while a meticulous, professional service is essential for others.
Key Takeaway: The best method depends entirely on your project's context. Don't just default to the fastest or cheapest option without first thinking about your audience and the purpose of your video.
Mastering Manual Subtitles with Free Tools
If you're a creator who wants absolute, pixel-perfect control over your subtitles—without opening your wallet—the manual route is your best bet. With powerful free software like VLC Media Player or an online editor like Kapwing, you can become a subtitling pro. It just takes a little practice. This approach is all about precision, giving you the final say on timing, wording, and style.
The process always starts with a good old-fashioned transcription. You need to get all the spoken words down into plain text first. This is your foundation. For some pointers on getting this right, you can check out this guide on what video transcription is and how to do it well. A clean script makes the next part infinitely easier.
With your text ready, you'll start syncing it to the video's timeline, adding timestamps so each line of dialogue pops up and vanishes at just the right moment.
Your Manual Subtitling Workflow
Essentially, you'll load your video into your chosen tool and start adding the text line by line. It might sound a bit tedious, but once you find a rhythm, it's surprisingly efficient. I’ve found that using keyboard shortcuts to play and pause the video is a game-changer; it lets you type out the dialogue without constantly grabbing the mouse.
A pro tip I always share is to break up long sentences. You never want more than two lines of text on the screen at one time. This gives your audience enough time to read comfortably without feeling overwhelmed, and it’s one of the key things that separates amateur work from polished, professional subtitles.
Here’s a look at the interface in VLC Media Player, which is a fantastic free option for this kind of work.

As you can see, it's a simple setup. You can watch the video and have a text editor right there to manage your timestamps and subtitle text.
The real magic of manual subtitling is in the fine-tuning. You can perfectly match the text to the speaker's natural cadence, making the subtitles feel like an integral part of the video, not just a slapped-on afterthought.
Once every line is timed perfectly, the final step is to export the subtitles as an .SRT (SubRip Subtitle) file. This is the industry-standard format, and it’s compatible with pretty much every video player and platform out there, including YouTube, Facebook, and LinkedIn.
Using AI for Fast and Efficient Subtitling
If you need to add subtitles to a video and you're short on time, AI generators are a lifesaver. Seriously. What used to take hours of painstaking manual transcription can now be done in minutes. The process is usually as simple as uploading your video and letting the software work its magic, transcribing the audio and automatically syncing it to the right moments.
This speed is a massive advantage, but the real secret to professional-quality subtitles lies in the final human touch. Let's be honest—no AI is flawless. A few minutes of your time to polish the output can make a world of difference. The demand for these tools is booming, with the global subtitle market hitting an estimated $317 million in 2024, largely driven by the need for accessible video content.
The transcript the AI gives you is a fantastic first draft, but it's not the finished product. Most tools provide an interface where you can see the subtitles overlaid on your video timeline and edit them directly.

This is where you'll spend a little time making those critical tweaks that elevate your subtitles from "good enough" to genuinely clear and professional.
Polishing Your AI-Generated Subtitles
I like to think of the AI as a speedy but slightly clumsy assistant. It does the heavy lifting, and my job is to come in and clean up the details. A quick review is all it takes to catch the common mistakes that automated systems make.
Here's my go-to checklist for a quick but effective review:
- Check Proper Nouns: AI frequently stumbles over names of people, brands, or unique product names.
- Fix Punctuation: You'll often find commas in strange places or sentences that run on forever. A quick fix here massively improves readability.
- Correct Industry Jargon: If you work in a niche field, the AI will almost certainly misinterpret specialized terms.
For example, I’ve seen an AI transcribe "Project Aeon" as "Project Eon." A simple find-and-replace can fix every instance of that error in seconds. Taking a moment to do this is a huge part of what makes AI captions for video boost accessibility and engagement.
The goal isn't to re-do the AI's work. It’s about making small, strategic edits that have a big impact on accuracy and the viewer's experience.
Once you’re happy with the subtitles, it’s time to export. You’ll typically have two main options: burn the subtitles into the video (open captions), making them permanently visible, or download a separate .SRT file that platforms like YouTube use for optional closed captions.
Getting Your Subtitles to a Professional Standard
Just having text on the screen isn't enough. The real goal is to create subtitles that feel like a seamless part of the video, enhancing the experience without ever pulling focus. When done right, viewers barely notice them—they just effortlessly absorb the information.
Getting to that level of quality really boils down to a few core ideas. Your subtitles need to be easy to read, perfectly timed, and styled for maximum clarity. Think high-contrast fonts and text that stays on screen just long enough for someone to read it without rushing.
Beyond the viewing experience, great subtitles can also play a role in getting your content seen. It's a smart idea to ensure they help you learn how to optimize content for SEO, which can make your videos much easier for search engines to find.
Nailing the Readability and Timing
When it comes to readability, less is almost always more. I try to stick to a maximum of two lines of text at any given time, keeping each line under 42 characters. This simple rule keeps the subtitles from cluttering the screen and distracting from your visuals.
Timing is all about matching the speaker's cadence. The subtitle should pop up the instant the words are spoken and vanish as soon as the phrase ends. A great way to check your work is to mute the video and just watch the subtitles. Do they flow naturally? If so, you're on the right track.
Pro Tip: Remember to include important sounds that aren't dialogue. Adding simple cues like [phone rings] or [upbeat music starts] makes a huge difference for viewers who are deaf or hard of hearing, giving them the full context of the scene.
Formatting and Style for Clarity
Your formatting choices should serve one primary purpose: making the text easy to read. Style should never get in the way of function.
Here are a few pointers I always follow:
- Choose the Right Font: You can't go wrong with a clean, sans-serif font. Think Arial, Helvetica, or something similar that's built for legibility.
- Create Strong Contrast: The industry standard is classic white text with a subtle black outline or placed inside a semi-transparent black box. This ensures the text pops against any background in your video.
- Stick to Standard Placement: Keep subtitles in the lower-third of the screen, usually centered. It’s where everyone expects them to be, so there's no reason to get fancy.
Navigating the world of video subtitles often brings up a few recurring questions. If you're new to this, you've probably asked yourself some of these already. Let's walk through the most common sticking points to get you on the right track.
Open vs. Closed Captions: Which Should I Choose?
This is probably the number one question I get. The difference is pretty straightforward: open captions are permanently burned into your video file, so they're always visible. Think of them as part of the picture. Closed captions, however, are a separate text file that viewers can toggle on or off.
My advice? Stick with closed captions whenever you can. It's a win-win. Your audience gets to control their viewing experience, and search engines can actually read the separate text file, giving your video a nice little SEO boost.
What’s the Deal with .SRT Files?
You'll quickly run into different file formats, but the one you need to know is .SRT (SubRip Subtitle). It's the industry standard for a reason—it’s simple and works just about everywhere.
An .SRT file is just a plain text document that contains three key things:
- A number for each subtitle in the sequence
- The exact start and end timecodes for when it should appear
- The subtitle text itself
From YouTube to a desktop program like VLC Media Player, almost every platform or player out there supports .SRT files. It's the most reliable choice.
Can I Customize How My Subtitles Look?
Another big question is about styling—changing the font, color, or size of your subtitles. With a standard .SRT file, the video platform (like YouTube or Vimeo) is in charge of how the text looks. You upload the file, and they apply their default styling.
If you have a very specific look in mind and need total control over the design, your only real option is to burn the subtitles directly into the video. Just remember, this turns them into open captions, and your viewers won't be able to turn them off.
Ready to stop transcribing and start creating? Aeon uses AI to turn your content into engaging, perfectly subtitled videos in minutes. See how it works at our website.