There's a reason so many of us are turning static PowerPoint decks into videos. It’s a simple but powerful shift that makes your message far more engaging, memorable, and shareable.
When you convert slides into a dynamic video, you suddenly unlock the ability to grab attention on video-first platforms like YouTube and social media, pushing your content out to a much wider audience. It just makes complex information easier to digest.
Why Turn Your PowerPoint Into a Video
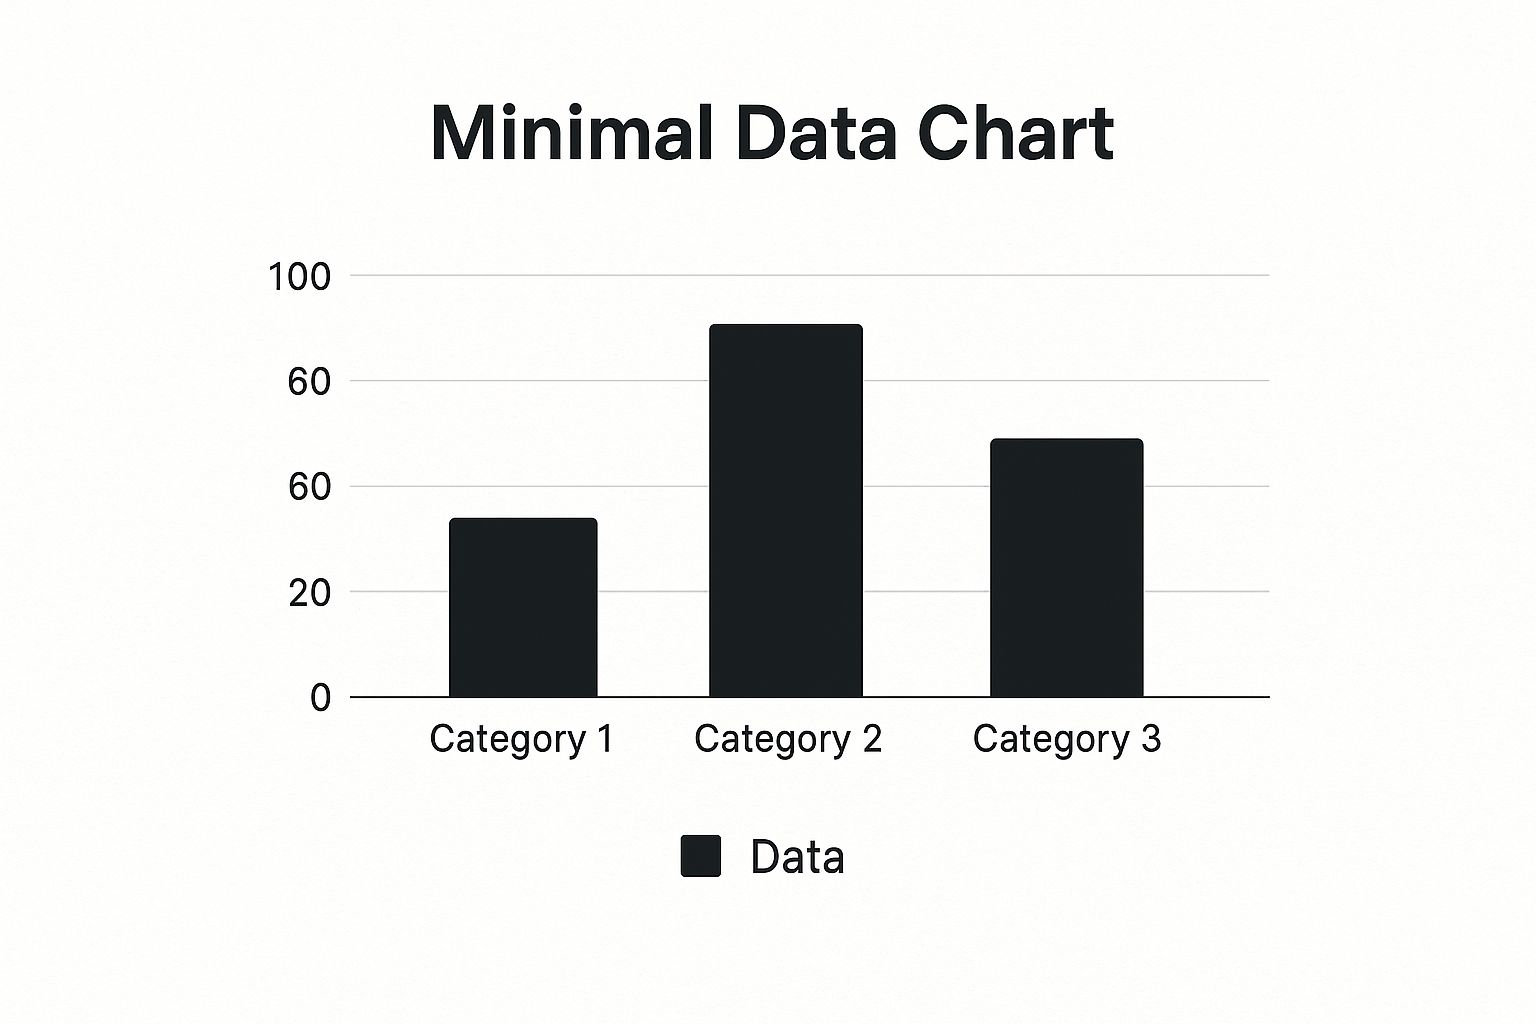
We've all stared at a slide like the one above. It’s familiar, but it’s also flat. A video, on the other hand, provides a richer, self-guided experience. Think about it: a typical slide deck needs a presenter to add context and tell the story. A video packages that entire narrative into one self-contained, shareable asset.
Boost Engagement and Retention
The biggest win here is a massive jump in viewer engagement. Videos are just inherently more interesting than slides. They pull together visuals, motion, and audio to tell a story that actually holds people’s attention.
And this isn't just a feeling; the numbers prove it. Presentations that include video see a 37% longer average viewing time and a 17% higher click-through rate on calls to action. Even more impressive, customers are reportedly 85% more likely to make a purchase after watching a presentation that incorporates video.
Expand Your Reach and Accessibility
Once your presentation is a video, it’s no longer stuck in a meeting room or an email attachment. It becomes a flexible piece of content you can upload to YouTube, share on LinkedIn, or embed right on your website. This is huge.
- On-Demand Access: Your audience can watch it whenever and wherever they want. No scheduling required.
- Wider Audience: You can finally connect with people on the platforms where they actually spend their time.
- Improved SEO: Videos can give your search engine rankings a nice little bump, driving more organic traffic your way.
When you transform your presentation, you're not just changing the file type. You're creating an evergreen asset that works for you 24/7. It becomes a workhorse for training, marketing, and sales long after the original meeting is over.
This tactic is especially powerful when folded into broader content marketing for lead generation strategies.
Preparing Your Slides for Video Conversion

Before you even think about hitting "export," you need to get your slides in order. The biggest mental shift you have to make when turning PowerPoint into a video is this: you’re no longer creating slides for people to read, you’re designing scenes for them to watch.
A slide that’s perfectly fine for a live presentation can feel like a cluttered mess in a video. The first order of business is to declutter. Every slide needs one—and only one—central idea. Got a slide with five bullet points? Great. Now split it into five separate slides.
This might sound like more work, but it lets your audience actually digest the information one piece at a time. It completely changes the viewing experience for the better.
Optimize Your Visuals and Animations
This should go without saying, but high-resolution visuals are a must. A blurry image or a pixelated logo is the fastest way to make your video look amateur. Double-check that all your graphics, photos, and charts are sharp and clear. They’re the visual backbone of your video.
Now let’s talk animations. It’s time to rethink how you use them. Forget the flashy, distracting effects. Instead, use animations to guide your viewer's attention. A simple “Fade” or “Appear” can introduce points sequentially, telling the audience exactly where to look. Ditch the "Fly In" or "Bounce" effects—they’ll just make your video feel dated.
Think of each slide as a scene in a movie. Your animations should guide the story, revealing information purposefully and helping the viewer connect the dots, rather than just adding motion for its own sake.
This is a fundamental concept in visual storytelling, and it’s especially crucial when you convert text to video using modern tools, where clarity is everything.
Finally, do a full run-through in "Slide Show" mode. Does the timing feel right? Do the transitions flow naturally? Nailing down these details now will save you a ton of headaches and lead to a much more polished, professional video in the end.
Choosing Your Conversion Method
Alright, your slides are looking sharp. Now comes the fun part: picking the right tool to actually turn that PowerPoint into a video. This decision really boils down to what you're trying to achieve. Are you aiming for a quick and dirty conversion for an internal meeting, or are you crafting a polished, professional video for a wider audience?
The most direct path is right inside PowerPoint itself. The built-in "Export to Video" function is your go-to for speed and simplicity. It's free, it's there, and it does the job for basic needs. Think of it as the perfect option for internal training modules or simple status updates where getting it done is more important than getting it perfect.
But if you want to create something with real impact, you'll need to look beyond PowerPoint's native features. This is where dedicated third-party platforms come into play, moving you from simple conversion into the world of true video creation.
Exploring Advanced Conversion Platforms
This is where you can really level up. Dedicated tools are built from the ground up to transform static assets into engaging video content. They pack in features like professional-grade narration, animated presenters, and slick scene transitions that can turn a standard slideshow into a compelling story.
It’s less about a direct 1:1 conversion and more about a complete transformation.
As the visual suggests, the goal isn't just to make your slides move; it's about creating a fluid, genuinely watchable experience by adding layers of dynamic content.
Modern AI-powered platforms are pushing this even further. Some of the more advanced tools out there have completely changed the game, letting you convert your slides into fully narrated videos fronted by AI avatars. Imagine choosing from thousands of AI presenters, adding a voiceover in over 110 languages, and getting flawless lip-syncing—all without ever touching a camera. You can see some of these powerful AI video converters in action to get a sense of what's possible.
To help you weigh your options, let's break down the different approaches.
PowerPoint to Video Conversion Methods Compared
Choosing the right method depends on your specific needs, balancing speed, features, and the desired quality of the final video. This table compares the main options available.
Ultimately, there’s a clear trade-off between speed, cost, and the final level of polish.
Choosing a method isn't just about the technology; it's about matching the tool to your audience's expectations. A quick export might work for your team, but a client-facing pitch or marketing video often demands a more polished and professional touch that specialized platforms provide.
For a fast, no-frills conversion, stick with PowerPoint. But if your goal is to create a memorable, high-impact video that actually drives engagement, it’s well worth investing your time in a more advanced tool. Platforms like Aeon are built specifically for this, helping publishers transform their content with minimal friction.
Giving Your Video a Voice with Professional Narration
Even the most beautiful slides can feel empty without the right audio. This is where you bring your video to life, giving it a human touch that turns a silent presentation into something truly engaging. The quality of your narration makes a huge difference in how professional your final video feels.
A clear, well-paced voiceover is your secret weapon. It guides your audience through the content, explains tricky concepts, and adds a personal connection that slides just can’t replicate. While PowerPoint’s built-in recorder works in a pinch, grabbing an external USB microphone is one of the best quick-and-easy upgrades you can make. The jump in audio clarity is undeniable.
Crafting and Recording Your Voiceover
Before you even think about hitting record, script out what you want to say. And please, don't just read your slides verbatim. A good script adds context, tells a story, and injects your personality into the material. I always recommend reading it aloud a couple of times to catch any clunky phrases and make sure it sounds conversational.
When you're ready, find the quietest room you can. Seriously, you’d be surprised what a microphone picks up. If you trip over a word while recording, don't panic and stop the whole thing. Just pause for a beat, restart the sentence, and keep going. You can snip out the mistakes in a few clicks later.
A great voiceover feels like a conversation. Speak clearly and with a bit of energy, as if you're explaining your topic to a friend. Your enthusiasm (or lack of it) is contagious and will absolutely come through in the recording.
For anyone looking to speed up the scripting process, checking out the best dictation software for Mac can be a real game-changer. It’s a fast way to get your spoken ideas down on paper.
Using AI Narration and Background Music
Let's be honest, not everyone loves the sound of their own voice. If recording isn't your thing, AI voice generators are a fantastic alternative. Modern AI can churn out incredibly lifelike narration, which is perfect for ensuring a consistent sound across all your video projects. It's a powerful way to scale up content creation without booking constant re-recording sessions.
For a deeper dive into the whole process, we've put together a complete guide on creating a video with a voiceover that's packed with tips for getting professional results.
Finally, don’t forget about background music. A subtle track can set the mood and fill any quiet gaps, but be careful with it.
- Choose Royalty-Free: Always use royalty-free music to avoid any copyright headaches down the line.
- Keep the Volume Low: The music is there to support your narration, not fight with it. Keep it low and in the background.
- Match the Tone: Pick a track that actually fits the vibe of your content. An upbeat, energetic track won’t work for a serious, data-heavy presentation.
Exporting and Sharing Your Final Video
You’ve polished your slides and recorded the narration. Now for the final hurdle: exporting your masterpiece and getting it in front of people. This is where you lock in the quality and format, and it’s a decision that directly affects where and how your video can be shared. Don’t just click the first export button you see.
For just about any online platform you can think of—YouTube, LinkedIn, your company blog—the sweet spot is an MP4 file at 1080p (Full HD) resolution. This gives you a fantastic balance between crisp, clear visuals and a file size that won’t take forever to upload. While PowerPoint might tempt you with a 4K option, those files are often massive and totally unnecessary unless you’re showing off highly detailed visuals on a giant screen.
Optimizing Your Video for Maximum Reach
Once that file is saved to your desktop, your job isn't quite finished. A great video is only great if people actually see it, and that’s where a little marketing savvy comes in handy.
You’ll want to spend some time writing a magnetic title, a keyword-rich description, and adding relevant tags. This is how platforms like YouTube figure out what your video is about and who to show it to.
Think of your video's metadata—the title, description, and tags—as the signposts for search algorithms. They’re just as crucial as the content itself for getting your video discovered by new viewers.
This isn't just a "nice-to-have." With almost every business using video in their marketing these days, smart distribution is what makes content stand out from the noise. You can find more insights into video marketing effectiveness and why it's so powerful for grabbing attention.
Finally, consider the video's home. If you're building out content on your own turf, getting comfortable with the basics of how to build a website is a game-changer. And for anyone focused on driving sales, we’ve put together a guide with more specific tactics on how to boost sales with video for ecommerce.
Hitting a Snag? Common PowerPoint Video Questions
You’ve put in the work, and your presentation looks fantastic. But when you go to turn that PowerPoint into a video, things can get a little… weird. It happens to the best of us. Let's walk through some of the most common issues and get you sorted out.
One of the biggest culprits is a ridiculously large video file. You export your masterpiece, and suddenly it's a multi-gigabyte monster that you can’t email or upload anywhere. The problem is almost always high-resolution images or other media you’ve embedded in the slides.
The fastest way to fix a huge file is to simply re-export it at a lower resolution. Dropping from 4K down to 1080p will make a massive difference in file size, and honestly, most people won't notice the quality change on a laptop or phone screen.
Another classic headache is audio that just won't sync up with your slide animations. You record a perfect voiceover, but in the final video, it feels like it's a half-second behind everything. This is usually because the timings weren't set in stone before you hit export.
Fixing Those Annoying Technical Glitches
To nail down your audio sync, you absolutely have to use the "Rehearse Timings" feature in PowerPoint before you export. This process locks in how long each slide stays on screen, ensuring your voiceover lines up exactly where it should. It’s a non-negotiable step if you want your video to feel professional.
Then there’s the question of which video format to choose. PowerPoint gives you a few options, but the answer is almost always MP4.
- Plays Everywhere: MP4 is the universal standard. It works on any modern device, browser, or social platform without a hitch.
- Efficient Quality: It gives you a fantastic balance, compressing your video into a manageable file size while keeping the quality crisp and clear.
And finally, what if your animations or transitions look jittery or choppy in the final cut? This is often just a performance bottleneck. Your computer is struggling to handle the export process. Try closing out of other programs—especially anything heavy like Photoshop or a dozen browser tabs—before you start the conversion. Freeing up that processing power can make all the difference.
Tired of wrestling with export settings and technical glitches? Aeon is designed to skip all that. Our AI takes your content and turns it into a polished, professional video in just a few clicks. See how simple it can be at https://www.project-aeon.com.