At its core, turning an MP3 into a video is surprisingly simple. You're just pairing the audio file with a static image—think album art, a podcast logo, or even just a title card—and wrapping them together in a video format like an MP4.
This simple act unlocks the ability to get your audio onto video-first platforms like YouTube, Instagram, and TikTok, massively expanding where your content can live and who it can reach.
Why Turn Your Audio Into a Video

Let's face it: in a world scrolled through with thumbs, audio-only files often get left behind. The biggest platforms are built for video, which means your standalone MP3 can't be uploaded to YouTube, shared on an Instagram feed, or turned into a TikTok. By converting your audio into a basic video, you suddenly have a key to the gates of these massive audiences.
This move is a classic example of smart content repurposing, letting one piece of audio do the work of many. It’s not just a technical workaround; it's a strategic play to squeeze every drop of value, visibility, and engagement out of the content you've already created.
Unlocking New Opportunities
Think about the real-world applications for a second. A musician can drop a new single on YouTube using just the album cover as the visual, tapping into the billions of searches that happen there. A podcaster can snip out a compelling 60-second clip for social media, using a branded image to catch the eye of potential new listeners.
Even an educator can turn an audio lecture into a simple video, making it instantly more shareable and accessible for students.
These aren't hypotheticals; they're happening every day. Learning how to turn an MP3 into a video gives you tangible advantages:
- Greater Reach: You gain access to video-only platforms, putting your work in front of billions of potential new fans and followers.
- Higher Engagement: Even a static visual element is more likely to stop a scroll than a plain audio link. It gives people something to anchor to.
- Improved Shareability: Video is the currency of social media. It's simply shared far more often than audio files.
The Easiest Method: Free Online Converters
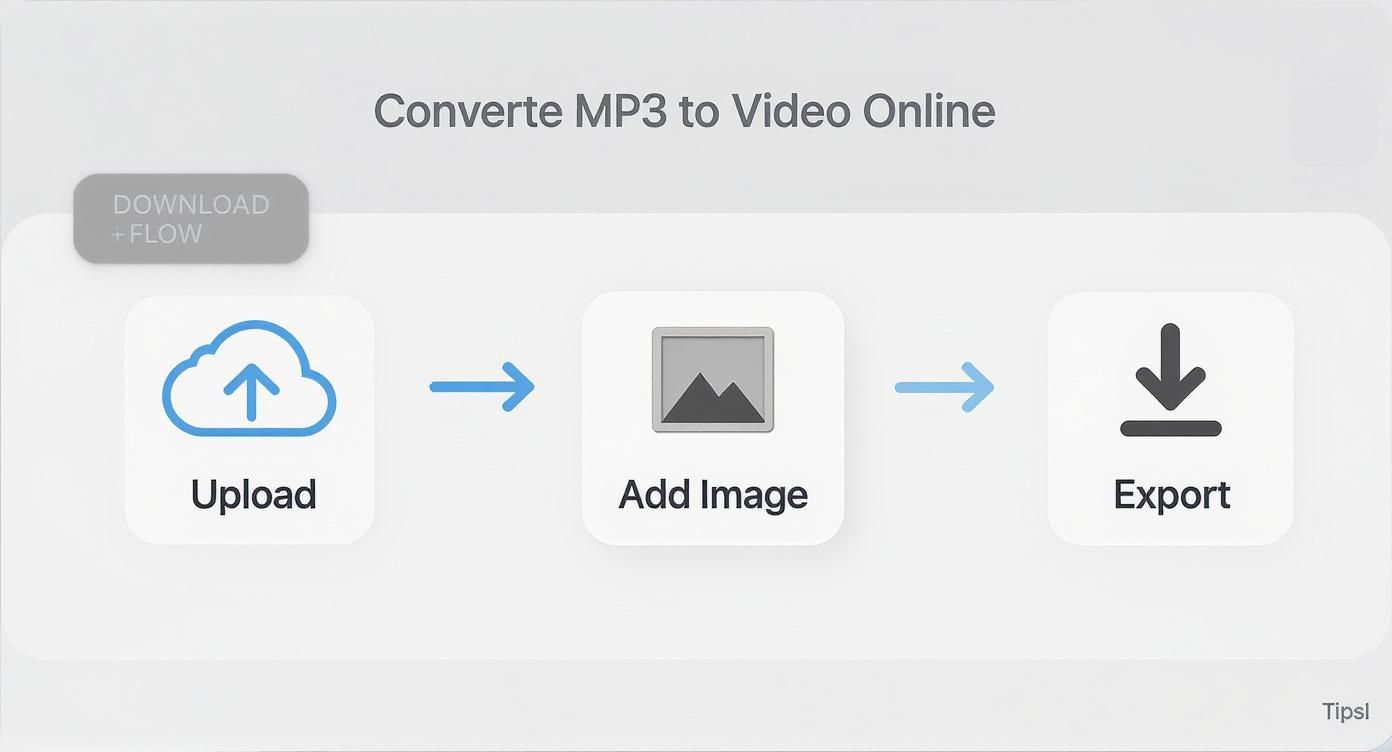
When you just need to get the job done fast without installing a single piece of software, free online converters are your best friend. These are simple, browser-based tools built for one thing: turning your MP3 into a video with minimal fuss.
The whole process is dead simple. You pop over to the website, upload your audio file, and then pick an image to serve as the visual backdrop. This could be anything from your podcast logo or new single's album art to a quick branded graphic you cooked up for social media. The tool then mashes them together and spits out an MP4 video file, usually ready for download in a matter of minutes.
The Trade-Offs of Free and Fast
Of course, nothing in life is truly free. While the convenience of these online tools is a massive plus, you have to remember they're a business. "Free" almost always comes with a few strings attached.
For starters, you’ll probably find a watermark—the converter's own logo—tucked into a corner of your final video. Getting rid of it usually means ponying up for a paid plan. You'll also likely bump into limits on the file size you can upload, the final video resolution, and how many conversions you're allowed to do in a day.
A quick heads-up on privacy: uploading your work to a random third-party server can be a bit sketchy. If your audio is sensitive or proprietary, a free online tool might not be the most secure route to take.
Finally, don't expect a lot of creative control. Most of these tools are one-trick ponies: you get one static image, and that's it. If you're hoping to add cool visual elements like animated waveforms, subtitles, or a slideshow of different images, you’ll need to look at more powerful software.
Choosing the Right Online Tool
Not all of these web-based converters are built the same. Some are clean and efficient, while others will bombard you with pop-up ads and confusing upsells. To avoid the headache, it pays to know what to look for.
Here’s a quick checklist I run through:
- Clear Privacy Policy: You should know exactly how your files are being handled and how long they're kept on their servers.
- Transparent Limitations: The good ones are upfront about their limits on file size, video length, and whether they slap a watermark on the output.
- Solid Output Formats: Make sure it can export to a universal format like MP4 (H.264/AAC). This will give you the best compatibility when you go to upload to places like YouTube or Instagram.
- It Just Works: The process should be a no-brainer. A few clicks to upload your audio, add an image, and kick off the conversion is all it should take.
This method is the perfect answer for anyone who needs to quickly get a song demo on YouTube or turn a podcast highlight into a shareable clip for social media. It absolutely prioritizes speed over creative control, but sometimes, a functional video with zero effort is exactly what you need.
Comparing Popular Free Online MP3 to Video Converters
To help you cut through the noise, here's a quick comparison of some popular online tools. This should give you a good starting point for finding the one that best fits what you're trying to do.
Ultimately, the "best" tool really just depends on your specific goal. If you're after a simple audiogram, Voice2v is great. If you need a few more editing bells and whistles for a social post, Kapwing or VEED.IO are solid contenders. Just be prepared to work within the limitations of their free plans.
Gaining Full Control with FFmpeg
When you need precision and power that quick online tools just can't deliver, FFmpeg is the answer. It’s a free, open-source command-line tool that’s basically the swiss-army knife for anything audio or video.
I get it, a terminal window can look a little intimidating at first. But trust me, it unlocks a level of granular control over your MP3-to-video conversion that you just can't get with a web interface. This method isn't for a quick one-off job; it's for creators serious about building a repeatable, high-quality workflow. You can script conversions, define the exact video codecs and bitrates, and make sure your final video is perfectly optimized for any platform you throw it on.
Why Bother with the Command Line?
The short answer: total control. You're the one calling the shots on resolution, frame rate, and encoding settings. This is absolutely critical for maintaining quality while managing file sizes—a far cry from the one-size-fits-all approach of most free online converters.
The MP3 format has been around forever; its file extension was officially established way back on July 14, 1995. In those early days, converting an audio file to video was a heavyweight task that required specialized software and a ton of computing power. Today, tools like FFmpeg chew through these complex jobs in seconds, giving us capabilities that were once reserved for professional studios. You can dive deeper into this audio technology history on micks-sci-tech-portal.co.uk.
Practical FFmpeg Recipes for Your MP3
Alright, let's get into some practical, copy-and-paste commands. Before you run these, make sure you have FFmpeg installed on your system. It also helps to have your MP3 and image files in the same folder where you're running the command.
Merge an MP3 with a Static Image
This is the classic scenario. You’ve got an audio file (let's call it audio.mp3) and a cover image (cover.jpg). The goal is simple: create a video where the image stays on screen for the entire length of the audio.
Here's the command you'll need:
ffmpeg -loop 1 -i cover.jpg -i audio.mp3 -c:v libx264 -tune stillimage -c:a aac -b:a 192k -pix_fmt yuv420p -shortest output.mp4
Let's quickly break that down:
-loop 1 -i cover.jpg: Tells FFmpeg to loop your cover image indefinitely.-i audio.mp3: This is your second input, the audio file itself.-c:v libx264 -tune stillimage: Sets the video codec to H.264 and—this is key—optimizes it for a static image. This trick drastically shrinks the final file size.-c:a aac -b:a 192k: We're encoding the audio with AAC at a 192kbps bitrate, which is a solid standard for quality.-shortest: This crucial little flag tells FFmpeg to stop the video as soon as the shortest input (your audio file) is finished.
While online tools simplify this into a few clicks, FFmpeg gives you precise control over every single detail of the export.
Creating a Video with a Solid Color Background
What if you don't have an image and just want a simple, clean colored background? No problem. This command generates a video with a solid blue background, no image file needed.
ffmpeg -f lavfi -i color=c=blue:s=1280x720 -i audio.mp3 -c:v libx264 -c:a aac -b:a 192k -shortest output_color.mp4
The magic here is -f lavfi -i color=c=blue:s=1280x720. This generates a blue background at a 1280x720 resolution. You can swap blue for other common colors or even use a hex code like #1a1a1a for a specific shade.
Getting a handle on these settings can make a huge difference in your final product. If you want to go deeper, check out our complete guide on different video file formats.
Pro Tip: Keep your favorite FFmpeg commands in a simple text file or script. It saves you from having to look them up every time and keeps your video exports consistent.
Adding Visuals That Pop
Slapping a static image over your audio is a solid start, but let's be honest—it's not going to stop the scroll. The real magic happens when you inject some motion.
Even a simple visual pulse or some on-screen text can make all the difference, transforming a basic audio file into a piece of content that actually grabs someone's attention. The goal isn't to create a cinematic masterpiece. It's about adding just enough visual interest to signal that your content is professional and thoughtfully produced, which builds trust and encourages people to stick around.
Bring Your Audio to Life with Waveforms
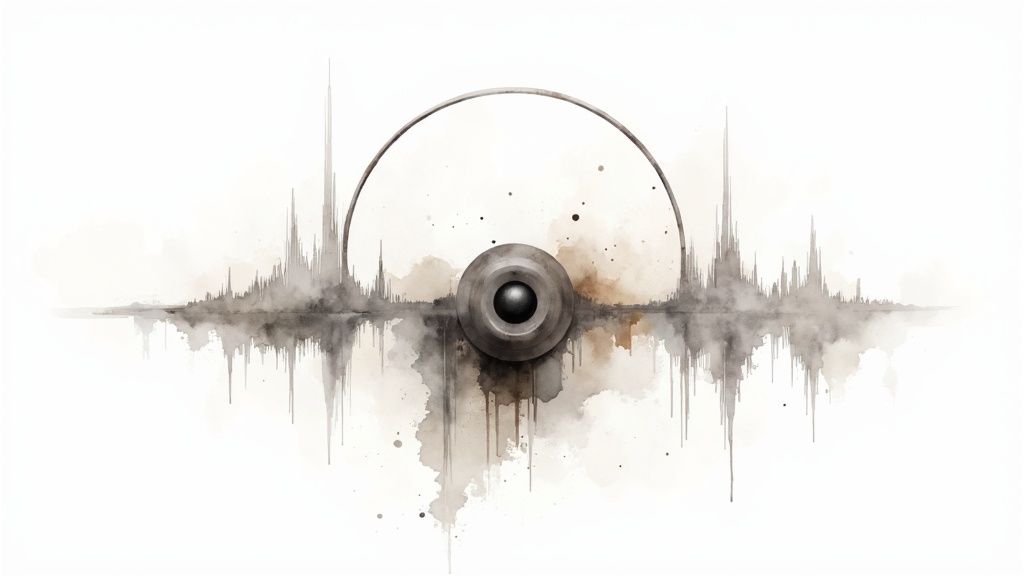
One of the easiest and most effective ways to add some flair is with an audio waveform. You've seen them everywhere—they're often called visualizers or audiograms. This little graphic pulses and moves in sync with your audio, providing a powerful visual cue that tells the viewer something is happening, even if the main image is static.
For podcasters, a waveform can turn a simple audio clip into a killer social media asset. For musicians, it puts the focus exactly where it should be: the sound. It's an elegant solution because the visual is literally driven by the audio.
Tools like Aeon make this dead simple by automatically generating visualizers for you. You can usually tweak:
- Style: Go for classic lines, chunky bars, or more abstract circular patterns.
- Color: Match the waveform to your brand colors or the vibe of the audio.
- Position: Tuck it subtly at the bottom of the screen or make it the star of the show.
Why You Can't Skip Subtitles
Next up: subtitles. And no, they aren't just an accessibility feature anymore. With a huge chunk of social media videos being watched on mute, burned-in subtitles are non-negotiable if you want to maximize your reach.
"Burning them in" just means they become a permanent part of the video file, so they show up on every platform, every time. This makes your content instantly digestible for people in noisy places, those who are hearing-impaired, or anyone who just prefers to watch without sound. That on-screen text might be the very thing that convinces someone to turn the volume up.
Adding subtitles can increase video view time by as much as 12%. That’s a pretty significant boost in engagement for a relatively small amount of effort.
Automated transcription has made this ridiculously easy. Platforms like Aeon can auto-generate subtitles from your MP3 in seconds, letting you quickly proofread and edit them for accuracy before they're locked into your video.
Getting Your Visuals Right for Every Platform
The visuals you add also need to be tailored for where they'll be seen. A widescreen video designed for YouTube is going to look clunky and amateurish as an Instagram Story. This is why you need to think about aspect ratios from the get-go.
For example, a 16:9 aspect ratio is the gold standard for YouTube, while a vertical 9:16 is a must for TikTok and Reels. A square 1:1 format still kills it on the main feeds for Instagram and Facebook. Making sure your background image and waveform look good in each format is key. Getting a handle on the basics of what video resolution is will help you nail the export settings every time.
To make this easier, here's a quick cheat sheet for the most common platforms. Dialing in these settings ensures your new video looks sharp and sounds great everywhere you post it.
Recommended Video Settings for Popular Platforms
Ultimately, this is all about creating purpose-built content. If you really want to level up, learning how to master video editing for social media will help you create visuals that are primed for sharing. By tailoring these elements, you’re not just making a video; you're building an asset designed to win on its intended platform.
Best Practices for Sharing Your New Video
Alright, you've successfully turned your audio file into a video. But getting that MP4 file is only half the battle. The real work starts now.
Just uploading your new video and calling it a day won't get you the traction you're looking for. To make a real impact, you have to treat this new asset with the same strategic care you'd give any other piece of video content.
That means optimizing it for each specific platform you share it on. After all, the way people find things on YouTube is completely different from how they scroll through Instagram or TikTok. Your sharing strategy needs to be just as dynamic.
Crafting a Compelling YouTube Presence
When you're uploading to YouTube, your title and description are your best friends for discoverability. Don't just slap a generic name like "My New Song" on it and hope for the best. Think like your audience. What words would they actually type into the search bar?
If your MP3 was an interview clip, you’d want to include the guest's name and the core topics you covered right in the title.
Your thumbnail, though? It’s arguably even more important. A custom thumbnail is completely non-negotiable, even for a video with just a static image. It's the billboard for your content, and a killer design can dramatically boost your click-through rates.
What makes a strong thumbnail?
- Bold, easy-to-read text that teases the audio's content.
- High-contrast colors that pop in a crowded feed.
- A clean, uncluttered design that looks professional, not spammy.
Expanding Your Reach with Social Media
For social platforms, don't just post the full-length video and walk away. The key is to create short, punchy teaser clips—think 15 to 30 seconds—that are tailor-made for Instagram Reels, TikTok, and X (formerly Twitter). The goal here isn't to give everything away; it's to spark curiosity and drive people back to the main event on YouTube or your website.
A powerful distribution strategy ensures your efforts in learning how to turn a mp3 into a video translate into actual views. It connects your creation with an audience ready to engage.
For the best possible playback, mastering video compression without losing quality is a vital skill. It ensures your audience gets crisp visuals and fast load times, no matter their connection.
And one final pro-tip: always use the native video player on each platform. Algorithms heavily favor native uploads over just sharing a link. This simple shift can make a massive difference in your visibility and engagement, helping your audio finally find the audience it deserves.
Common Questions About Turning Audio Into Video
Jumping into the world of audio-to-video conversion always brings up a few questions. Let's tackle the most common ones people ask when they're getting started.
Will Converting My MP3 to a Video Wreck the Audio Quality?
Good news: almost never. When you convert an MP3 into a video, the process typically just wraps your original audio stream inside a new video container. It doesn't re-compress or degrade the sound.
Think of it this way: the quality of your source MP3 is what really dictates the final result. As long as you stick to standard export settings—like using a common audio codec like AAC at 192 kbps or higher—your audio will sound just as crisp as it did in the original file.
How Do I Make Sure My Video Isn't Boring?
You’ve got to add some movement. A static image is fine, but dynamic elements are what stop people from scrolling past. An audio waveform that pulses and reacts to the sound is an absolute classic for a reason—it works incredibly well for both music and podcasts.
Subtitles are another huge win. They make your content accessible to everyone and let people watch with the sound off, which is how a massive chunk of social media video is consumed. If you have a longer piece of audio, try a simple slideshow with relevant images changing every 30-60 seconds. It’s a low-effort way to keep the screen from getting stale.
The goal here isn't to produce a cinematic masterpiece. You just need to add enough visual flair to signal that your content is high-quality and worth a listen.
What’s the Best Video Format to Use?
For maximum compatibility, MP4 is the undisputed king. It’s the perfect middle ground, offering excellent quality without creating gigantic files that are a pain to upload and stream.
When you get to the export screen, look for these two settings: the H.264 video codec and the AAC audio codec. This combination is the gold standard, supported by pretty much every device, browser, and social platform out there, from YouTube and Instagram to your smart TV. It just works everywhere.
Ready to stop doing this manually and start automating your content? With Aeon, you can turn your audio into engaging videos at scale, automatically adding dynamic visuals, subtitles, and your own branding. Find out how we do it over at Project Aeon.