A great picture of clothes isn't just a lucky snapshot. It's the end result of a deliberate plan that nails down your brand's style long before a camera ever comes out of the bag. This is where you translate your brand's whole vibe into a visual language, making sure every single image feels consistent, professional, and ultimately, persuasive.
Building Your Visual Blueprint Before You Shoot
 Jumping into a photoshoot without a clear strategy is like trying to build a house without a blueprint. Sure, you might end up with something standing, but it won't be cohesive, and it definitely won't be effective. A well-defined visual identity is your foundation, and it dictates everything from your photography style to the specific mood of each shot.
The first big decision you need to make is which photography style you're going to lean into. This choice has a huge impact on how customers see your products and your brand as a whole.
Choosing the right photography style is fundamental to communicating your brand's identity and showing your products in the best possible light. Each approach offers a different way to connect with your audience.
Choosing Your Apparel Photography Style
Ultimately, many brands find success using a mix of these styles—perhaps ghost mannequin for the main product page, on-model shots for lookbooks and campaigns, and creative flat lays for Instagram.
Creating a Comprehensive Shot List
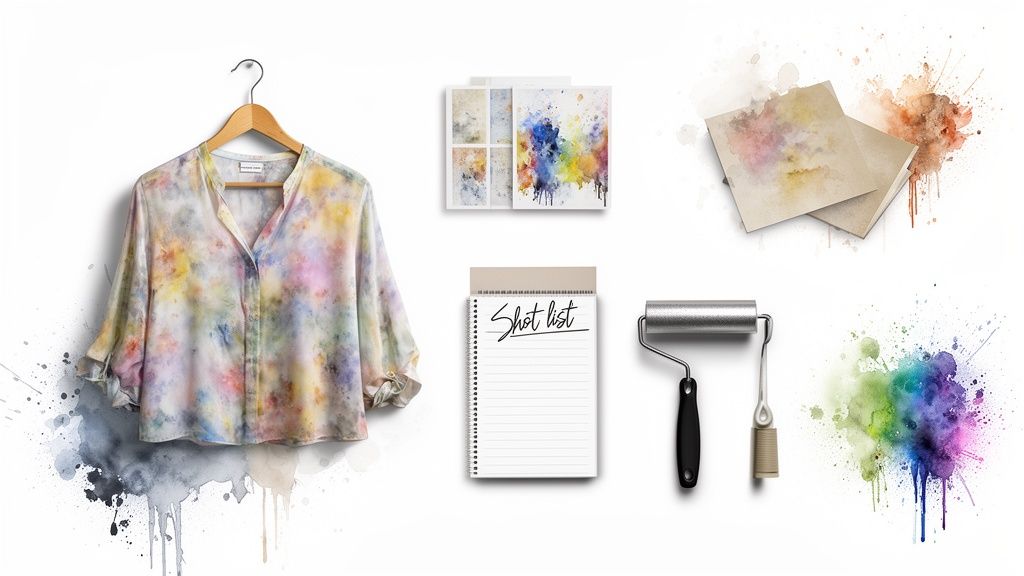
Once you’ve locked in a style, it’s time to build a detailed shot list. Think of this document as your roadmap for the entire shoot. It ensures you capture every single angle and detail you need without wasting time or money. A good shot list is your best defense against the dreaded "we forgot a shot" email, which almost always leads to a costly reshoot.
For a simple t-shirt, your list might include a full front view, a full back view, a close-up on the fabric's texture, and maybe another on a unique stitching detail. If you need a hand structuring this kind of document, our guide on how to write a creative brief is a great place to start.
A shot list isn't just a checklist; it's a strategic tool that guarantees visual consistency across your entire e-commerce catalog. It ensures that every product, whether a hoodie or a pair of jeans, is presented with the same set of high-quality, informative angles.
Final Preparations for a Flawless Shoot
The last bit of planning is all about meticulous physical prep. Every single garment has to be camera-ready. I mean perfect. This involves steaming out every last wrinkle, running a lint roller over the fabric until it’s spotless, and making sure all buttons are fastened and zippers are perfectly straight.
This is also when you gather your props and backgrounds. Choose props that complement the clothing without stealing the show—a simple pair of sneakers for a casual outfit or a tasteful handbag. Backgrounds should align with your brand's aesthetic, whether that's a clean, solid color for a minimalist look or a textured surface that adds a bit of depth and context.
Getting Technical With Your Camera and Lighting
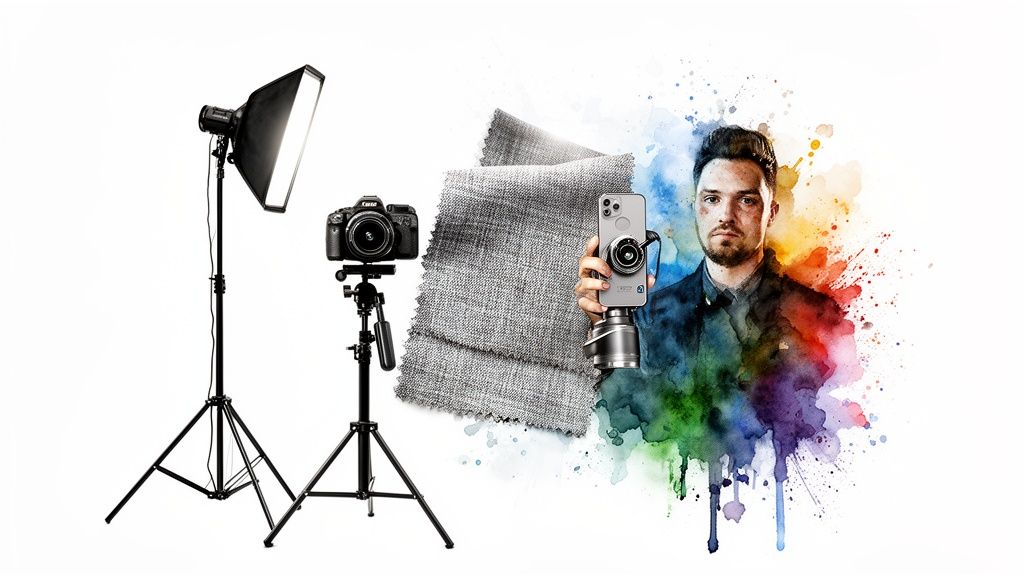
You absolutely do not need a Hollywood-sized budget to create a stunning picture of clothes. The technical side of photography can feel a little intimidating, but getting a solid grip on a few core concepts will completely transform your images, whether you're using a high-end DSLR or just the smartphone in your pocket.
Real success starts with understanding what photographers call the "exposure triangle"—that's the relationship between aperture, ISO, and shutter speed. These three settings are constantly working together to control the brightness and clarity of your final shot.
Core Camera Settings Demystified
Aperture is measured in f-stops (like f/1.8 or f/8) and controls your depth of field. A wider aperture (that's a lower f-stop number) creates that blurry background effect that makes the product pop. For most e-commerce shots, though, you’ll want a narrower aperture like f/8 to f/11 to make sure the entire garment is perfectly sharp.
Next up is ISO, which is just the camera's sensitivity to light. Your goal is to keep this as low as possible, usually around ISO 100-200, to get the cleanest, most detailed images. Only crank up the ISO if you’re in a low-light jam, because higher values introduce that grainy texture we call "noise."
Finally, shutter speed is how long the camera's sensor is exposed to light. For static shots on a tripod, a speed of 1/125s or faster will keep things crisp and prevent any motion blur.
Getting these settings right is non-negotiable in today's market. The global apparel industry is a massive $1.84 trillion behemoth, and with consumers buying 60% more clothes than they did two decades ago, high-quality visuals are everything.
Think of it like a recipe: your goal is to balance these three elements to get a perfectly exposed, sharp, and noise-free image that shows off the clothing exactly as it is. Each ingredient has to be in just the right proportion.
Simple and Effective Lighting Setups
Honestly, lighting is probably the single most critical element in clothing photography. It’s what shapes the garment, highlights texture, and sets the entire mood of the shot. The good news is you don’t need complex, expensive gear to get professional results.
A fantastic starting point is just using the natural light from a large window. If you position your product at a 45-degree angle to the window, you’ll get soft, diffused light that minimizes harsh shadows. Then, grab a white foam board and place it on the opposite side to act as a reflector—it’ll bounce light back and fill in any dark spots.
If you want a more controlled environment, a basic three-point lighting setup is the industry standard.
- Key Light: This is your main, brightest light. Position it at a 45-degree angle to your product.
- Fill Light: A less intense light on the opposite side, used to soften any shadows the key light creates.
- Backlight: Pop this one behind the product to create some separation from the background and add a nice sense of depth.
You can easily pull this off with affordable LED panels or strobes paired with softboxes, which help diffuse the light. Once you’ve nailed the technical side of capturing great images, it's just as important to understand how they’ll perform on specific platforms. For that, a deep dive into product photography for Amazon can offer some incredibly valuable, platform-specific tips.
Styling Clothes to Inspire and Convert
 A great photo of your clothes does more than just show off the fabric and stitching; it tells a story. Styling is how you translate a garment's potential into an image that makes a customer feel like they need it. It’s that crucial bridge between simply showing a product and actually inspiring a purchase.
The way you approach this depends entirely on the photography style you've chosen. Each method has its own way of building a visual narrative that really connects with your shoppers.
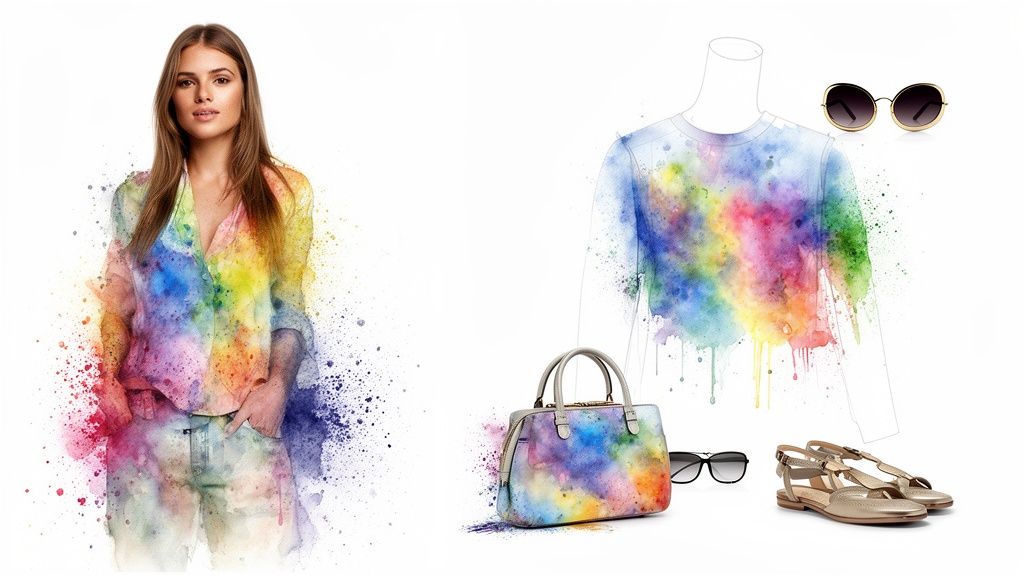
On-Model Styling for Aspiration
Putting clothes on a model is about selling a lifestyle, not just a t-shirt. Your goal is to create an aspirational look that helps customers picture themselves wearing the item in their own lives.
It's less about a stiff, static pose and more about capturing a moment—the way the fabric moves, how it drapes when someone laughs, or how it pairs with other pieces to create a full look.
Good on-model styling answers a customer's questions before they even have to ask:
- How does it fit? A model gives immediate context for length, drape, and the overall silhouette.
- How can I wear it? Showing the same dress with sneakers and then with heels shows its versatility right away.
- How will it make me feel? A confident pose can communicate power; a relaxed one suggests comfort and ease.
If you want to dig deeper into creating compelling on-model shots, we have a detailed guide covering effective modeling poses in western dress that can help tell your brand's story.
Off-Model Precision with Flat Lays and Ghost Mannequins
When a model isn't in the picture, your styling has to be all about precision and clarity. The ghost mannequin technique, for instance, is an industry staple for a good reason. It gives you a clean, 3D view of the garment's true shape and fit without the distraction of a person. Pulling this off requires some meticulous pinning and shaping to really bring the garment to life.
On the other hand, flat lay photography is where your creative side can really shine. This is your chance to build a small world around your product. A cozy sweater might be paired with a book and a coffee mug, while a summer dress could be styled next to sunglasses and a straw hat. The trick is using minimal props that add context without stealing the show.
A well-styled flat lay can be incredibly powerful. It suggests a complete outfit or a specific mood, giving shoppers a reason to connect with the item on a more personal level beyond its basic features.
Think about the psychology of color when you're putting items together. Complementary colors can create a vibrant, energetic feel, while a monochromatic palette often feels more sophisticated. Styling a full outfit in one shot—like a blouse with jeans, shoes, and a bag—doesn't just showcase the main item. It encourages add-on sales by presenting a look that’s ready to go. The perfect picture of clothes makes shopping feel both effortless and inspiring.
Fine-Tuning Your Shots: An Editing Workflow That Sells
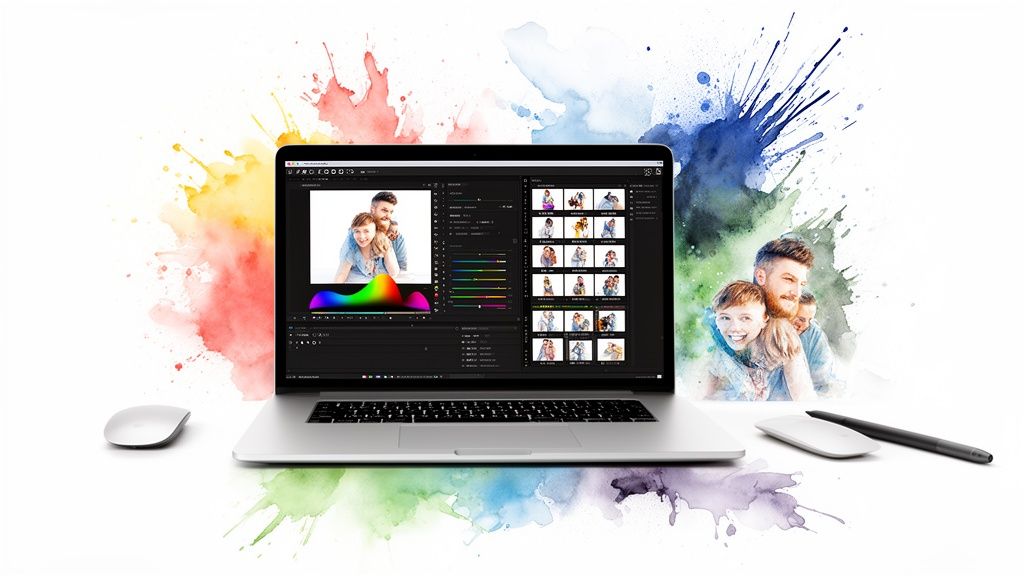
Getting a great shot in-camera is only half the battle. Post-production is where your good photos become truly great, turning solid raw images into compelling, professional assets that actually drive sales.
Think of this process less as heavy manipulation and more as a final polish—a way to refine and standardize your images for a clean, consistent online storefront. It all starts with culling. Go through your shots quickly and pick the absolute best ones. Ditch anything that's out of focus, poorly composed, or has a flaw you just can't fix.
From there, the main goal is simple: consistency.
Core Adjustments for Product Accuracy
Your first edits should always focus on the fundamentals, ensuring every picture of clothes is a true-to-life representation of the real thing. This single step has a massive impact on customer satisfaction and can seriously cut down on returns.
I always tackle these key areas first:
- Color Correction: This is non-negotiable. Use your white balance tool, referencing that shot of a grey card you took, to make sure the colors on screen perfectly match the garment's actual hue.
- Exposure Balancing: Tweak the brightness and contrast so every image in your catalog feels like it belongs. A white t-shirt should look consistently white from one product page to the next, not dingy on one and blown-out on another.
- Sharpening: Apply just a touch of sharpening. You want to make the fabric textures, stitching, and tiny details pop. Just be careful not to overdo it, or you’ll get that harsh, crunchy look that screams amateur.
A consistent editing style is your brand’s visual signature. It builds trust and creates a seamless shopping experience, telling customers that what they see is exactly what they’ll get.
This level of polish is what separates the pros from the rest, especially in a market where visual appeal is everything. The global apparel manufacturing industry is projected to hit an eye-watering $507.9 billion in 2025, with giants like Inditex and H&M leaning heavily on digital sales to meet demand.
Mastering Backgrounds and Final Exports
Once the core adjustments are locked in, it’s time to deal with the background. For e-commerce, a clean, pure white or light grey background is the undisputed standard. It kills all distractions and puts the spotlight squarely on what you’re selling.
Sure, you can manually trace items with the Pen Tool in Photoshop, and it gives you ultimate precision. But it’s also incredibly time-consuming. Honestly, AI-powered background removal tools have been a game-changer for busy teams, giving you clean cutouts in seconds and making batch processing a breeze.
Finally, don’t forget about exporting properly. Your final images need to be web-friendly. Always use a "Save for Web" function and export as JPEGs or WebP files. This compresses the file size for faster page loads without a noticeable drop in quality—a huge factor for both user experience and SEO.
And for teams looking to get more mileage out of their static shots, check out our guide on creating dynamic fashion images from your freshly edited catalog.
How to Scale Your Visual Content Production
Nailing that one perfect photo of a new clothing item feels great. But in modern e-commerce, the demand for fresh visual content is relentless. To keep up without completely burning out your team, you have to shift your thinking from just working harder to working smarter. That means building real systems to scale your production efficiently.
The bedrock of any scalable system is, frankly, good old-fashioned organization. It’s not the most glamorous part of the job, but a logical file naming convention and solid metadata are your absolute best friends. A messy, chaotic asset library is a massive time sink, forcing your team to hunt for images when they should be creating.
Build an Organized Digital Asset Foundation
Start by standardizing how you name your files. This isn't just about being tidy; a simple, consistent structure can save you and your team countless hours down the line.
Here’s a practical formula that works:
- Product Identifier: Use the SKU or another unique product ID (e.g.,
SHIRT001). - Description: Add a short, clear description (e.g.,
Blue-Cotton-Crewneck). - Angle/Type: Specify the shot (e.g.,
Front,Detail,Lifestyle). - Version: Tack on a version number for different edits (e.g.,
v1).
Put it all together, and a final filename might look like this: SHIRT001_Blue-Cotton-Crewneck_Front_v1.jpg. This simple protocol makes your entire library instantly searchable and a breeze to navigate.
The need for this kind of efficiency becomes crystal clear when you look at the market. Global online apparel sales exploded to $509.1 billion in 2021 and are projected to hit $785.66 billion by 2025. This digital boom, where China leads the pack with sales of €279.10 billion, shows exactly why studio-quality images are pure gold for marketing teams who need high-converting visuals on demand. You can find more of these eye-opening fashion stats over at wunderlabel.com.
An organized asset library isn’t just about neatness; it’s a strategic asset that unlocks speed and agility. When you can find any image in seconds, you can repurpose content, launch campaigns, and react to market trends faster than your competitors.
Repurpose Static Images into Dynamic Content
Once your digital house is in order, you can start getting creative with repurposing. A static product photo is just the beginning—it can be the raw material for a whole range of dynamic content that truly grabs a customer’s attention.
Modern tools can take a single on-model photo and completely transform it. Imagine offering virtual try-on experiences where customers can see how your clothes look on different body types—or even on a model that looks like them—without needing a new photoshoot for every single size and model.
AI can also help you spin up entire campaigns from just a few core photos. Instead of spending a day setting up complex multi-product flat lays, you can generate photorealistic compositions in minutes. This lets you create endless variations for A/B testing ads, social media posts, and email campaigns, all from your existing image library.
The table below breaks down the real-world difference between sticking with old methods and adopting an AI-powered approach to scaling your content.
Manual vs AI-Powered Content Scaling
As you can see, the efficiency gains aren't just marginal—they completely change what's possible for your content and marketing teams.
Of course, to truly maximize the impact of your visuals and sell more online, your website has to be easily discoverable in the first place. This means getting a handle on strategies for optimizing your website with SEO plugins, which ensures your stunning product photos actually reach the widest possible audience. By pairing a smart production workflow with strong online visibility, you create a powerful engine for growth.
Of course. Here is the rewritten section, designed to sound like an experienced human expert.
Answering Your Biggest Clothing Photography Questions
Even the best-laid plans hit a snag. When you're in the thick of a shoot, questions always pop up. Let's tackle some of the most common hurdles I see e-commerce and content teams face, with some straight-to-the-point answers to get you back on track.
How Can I Get My Colors to Look Right?
This is a big one. Getting color right is all about building trust and, frankly, avoiding the headache of returns. No one wants to order a vibrant red dress only to receive a dull maroon one—that’s a one-way ticket to a bad review.
The single best tool in your kit for this is a grey card or a color checker. Seriously, don't skip this. At the very start of your shoot, take one photo of the card under your exact lighting. That's it.
That one reference shot becomes your source of truth in post-production. You can use the eyedropper tool on the grey area to set a perfect custom white balance, then sync that setting across all the photos from that session. Also, make sure you're shooting in RAW format. It captures way more color information than a JPEG, giving you the flexibility you need to nail those tones perfectly.
Quick pro tip: Edit your photos on a calibrated monitor. Your screen can (and will) lie to you otherwise, causing you to overcorrect colors and create a huge gap between what you see and what your customer gets.
What's the Best Lighting Setup on a Budget?
You don't need to drop thousands on studio lights to get gorgeous photos. Your most powerful—and cheapest—light source is probably right outside. Natural light from a big window gives fabrics a soft, flattering look that’s tough to beat.
To make the most of it:
- Place your product or model at a 45-degree angle to the window. This isn't some arbitrary rule; it creates soft, dimensional shadows that give the garment shape.
- Grab a cheap white foam board or a reflector and put it on the opposite side of your product. This will bounce some of that lovely light back, filling in any dark shadows for a clean, polished look.
If you need more consistency than the sun can offer, the next best step is an affordable off-camera flash or a continuous LED panel paired with a big softbox. Even a single light setup is a massive improvement over the harsh, flat light from an on-camera flash.
How Many Pictures Should I Take for Each Product?
For a standard product page, you should be aiming for at least 5-8 high-quality images. This isn't just about filling space; it's about visually answering every question a customer could possibly have. More photos build confidence, and that directly translates to more sales.
A solid shot list for every single item should look something like this:
- The Hero Shot: A clean, full-length shot of the front. This is your main event.
- Back and Side Views: Customers need to see it from every angle. No surprises.
- Detail Shots: Get up close. Show off the texture of the fabric, the quality of the stitching, a unique button, or the zipper.
- In-Context/Lifestyle Shot: Show the garment on a model or styled in a way that helps shoppers imagine themselves wearing it.
This variety gives people a 360-degree understanding of the fit, feel, and quality of your clothing before they even think about hitting "add to cart."
Ready to stop spending hours on tedious reshoots and editing? Aeon gives your team the power to create studio-quality visuals, virtual try-on experiences, and dynamic ad campaigns from a single image. Turn your existing photos into an endless stream of high-converting content. Start your $5 trial of Aeon today.