Turning a PowerPoint into a video is one of the quickest ways to breathe new life into static slides, transforming them into shareable, dynamic content. The process is pretty simple: you just export your presentation as an MP4 file. This captures all your carefully timed animations, transitions, and audio, making your message far more compelling for platforms like YouTube and LinkedIn.
This one simple conversion can unlock a ton of marketing potential from assets you’ve already spent time creating.
Why Turning PowerPoint Into Video Is a Modern Marketing Must
Let’s be honest: static slide decks are often where good ideas go to die. In a world completely saturated with content, a standard presentation just doesn't grab and hold attention the way it used to. Converting your PowerPoint into a video isn't just some clever trick—it's a critical strategy for repurposing your existing work into high-impact marketing tools that today's video-first audiences actually want to watch.

It’s all about making your content work smarter, not harder. Instead of being stuck in a meeting room or buried in an email attachment, your ideas can now live on social media, in blog posts, and on your website—working for you around the clock.
The Tangible Benefits of Video Content
That shift from slides to video delivers real, measurable results. When you understand the strategic advantages of powerful video marketing for business, it becomes crystal clear why this conversion is so essential. Brands making this pivot see immediate improvements.
Here’s what you can expect:
- Higher Audience Engagement: The combination of visuals, motion, and sound is simply better at holding attention. It's a fact.
- Increased Information Retention: People are far more likely to remember a message they watched than one they just read off a slide.
- Improved Accessibility: Videos with captions can reach a much broader audience, including people with hearing impairments or those just watching with the sound off (which is most people on social media).
- Enhanced SEO Performance: Search engines love video. It’s a straightforward way to help your content rank higher and get in front of more people organically.
Driving Real Business Growth
The numbers don't lie. A HubSpot marketing report found that a massive 93% of marketers say video content delivers a positive return on investment, blowing static formats out of the water. On top of that, companies that weave video into their strategies see 49% faster year-over-year revenue growth compared to those still relying on text-heavy presentations.
To put it into perspective, here's a quick comparison of how these formats typically perform.
Static Slides vs Dynamic Video Performance Metrics
As you can see, the switch to video isn't just a minor tweak—it fundamentally changes how your audience interacts with your message and what kind of business results you can expect.
The real magic is in the multiplication of assets. By converting a single PowerPoint, you can slice and dice it into short social clips, a detailed tutorial, or highlights for a webinar. You get so much more value out of your initial effort.
This isn't just about hitting an 'Export' button. It's about unlocking the hidden potential in your existing presentations to create compelling content that moves the needle on your marketing goals. Exploring the different types of marketing videos you can create—all from one slide deck—can open up a whole new world of strategic possibilities. For more on that, check out our guide on the different types of videos you can make: https://project-aeon.com/blogs/types-of-videos.
So, you're ready to transform your PowerPoint deck into a video. Great. You’ve basically got two paths to take: using PowerPoint’s built-in exporter or firing up a screen recording tool.
There's no single "best" way—it all comes down to what you’re trying to accomplish. Are you making a clean, polished video that can run on its own? Or are you trying to create a more personal, guided walkthrough?
Let's dig into when and why you’d choose one over the other.
Mastering PowerPoint's Native Video Export
The most direct route is PowerPoint’s own "Export to Video" function. This is your go-to when you want a slick, self-playing video where the slides and their animations are the main event. Think of it as creating an automated presentation that plays perfectly on a loop at a trade show or as an explainer on your website.
To find it, just head to File > Export > Create a Video. Once you're there, you'll have a couple of important decisions to make.
First up is video quality. You'll see a dropdown with everything from Standard (480p) to Full HD (1080p) and even Ultra HD (4K). Let’s be real: for almost any professional use case, like a social media post or an embedded website video, Full HD (1080p) is the perfect balance. It’s crisp and clear without creating a ridiculously large file that takes forever to upload and buffer. You’d only really need 4K if your slides have incredibly fine details meant for a massive screen.
Next, you have to nail the slide timings. This determines how long each slide appears on screen. You can apply one blanket duration for every slide, but the more professional move is to use the "Record Timings and Narrations" option. This feature lets you click through the presentation at a natural pace, and PowerPoint records those specific timings for a much more organic feel.
The secret to a killer native export? Get your slide timings and animations perfect before you hit that export button. Once it’s rendered as a video, everything is locked in. Do a quick dry run with the 'Rehearse Timings' feature to save yourself the headache of re-exporting five times.
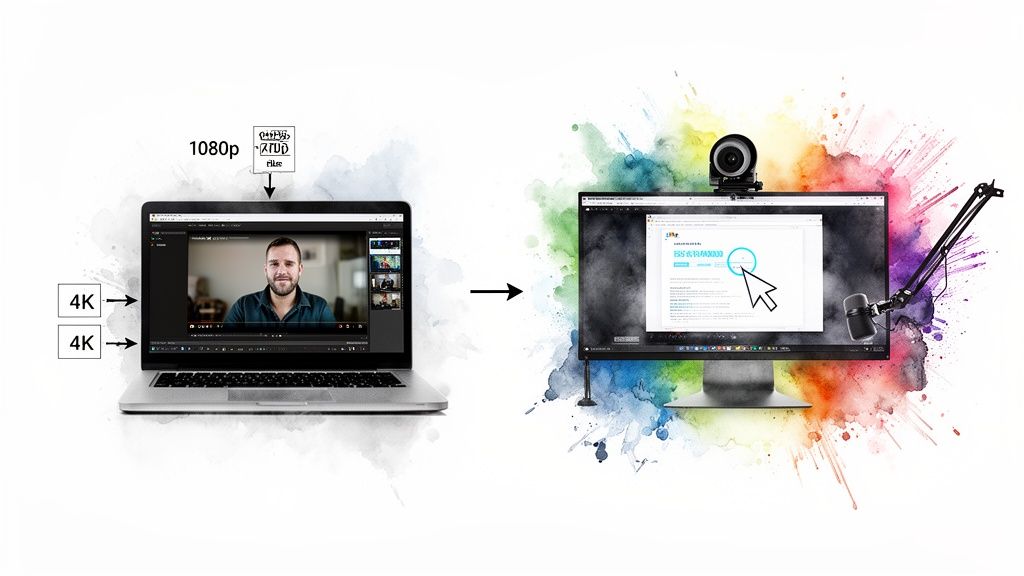
When to Use Screen Recording Instead
The other approach is to use an external tool like Loom, Camtasia, or OBS Studio to record your screen while you actually present the slideshow. This method completely changes the game by putting the focus on you, the presenter.
Screen recording is the way to go when your voice, your cursor movements, and your personality are what bring the content to life.
Here are a few scenarios where it shines:
- Tutorials and Walkthroughs: There's no better way to show someone how to do something than by guiding them with your cursor, clicking on buttons, and explaining the "why" behind each step.
- Personalized Sales Demos: Recording a custom walkthrough for a potential client, with your face in a little webcam bubble, adds a human connection that a sterile slide deck just can't match.
- Webinar Recordings: This is the ideal method for capturing a live event, including your off-the-cuff commentary, audience interactions, and Q&A.
With a screen recorder, you’re not limited to just the slides. You can easily switch over to a live software demo, a website, or another application to provide more context. Including your webcam feed also does wonders for building rapport with your audience.
The only trade-off is that it requires a bit more prep—a decent microphone is non-negotiable—and the final video will feel more like an authentic, live recording than a highly-polished animation.
Adding Professional Polish With Voiceovers And Captions
A raw video exported from PowerPoint is a solid starting point, but let's be honest, a silent video is a massive missed opportunity. If you really want to grab your audience's attention and make your message stick, you need to add a couple of layers of professional polish. That means clean audio and—this is a big one—accessible captions.

These two elements can transform a simple slide-to-video export into a compelling piece of content that actually holds someone's attention, especially on social feeds where videos often autoplay on mute.
Recording A Clean Voiceover
Your audio quality can make or break the final product. A crisp, clear voiceover adds authority and a human touch, guiding your viewers through the slides in a way that text alone just can't. You don't need a pro-level recording studio, but a few simple practices will help you avoid that distracting, muffled sound.
Here’s what I’d recommend:
- Get a Decent Microphone: The built-in mic on your laptop is convenient, but it will almost always sound distant and echoey. A simple, affordable USB microphone is a huge step up in quality.
- Find a Quiet Space: Record in a room with soft surfaces. Think carpets, curtains, or even a walk-in closet full of clothes. These materials absorb sound and drastically reduce echo.
- Speak Clearly and Pace Yourself: Don't rush through it. Speak at a natural, conversational pace. Having a script handy is also a great way to keep your narration tight and on-point.
The Non-Negotiable Power Of Captions
Adding captions to your videos isn't just a nice-to-have anymore; it's absolutely essential for engagement and accessibility. Think about your own habits when scrolling through social media—how many videos do you watch with the sound off? Without captions, your message is completely lost.
Captions make your video accessible to viewers with hearing impairments, those in noisy environments, and the huge majority of people who watch social videos on mute. They ensure your message lands, no matter how the video is consumed.
The standard way to do this is by creating a SubRip Subtitle file, better known as an SRT file. It’s just a plain text file containing your transcribed audio along with precise timestamps. Nearly all modern video editors and social platforms let you upload an SRT file directly, which then overlays the text perfectly onto your video. For a deeper dive into the whole process of making effective marketing videos that actually get results, looking into broader production strategies can be a game-changer.
Using AI For Faster Transcription
Let’s be real: manually transcribing audio is incredibly tedious. Thankfully, AI-powered transcription tools can do all the heavy lifting for you in just a few minutes. Services like Descript or Otter.ai can generate a surprisingly accurate transcript and export it as an SRT file, saving you hours of painstaking work.
This is an area where AI really shines in the video production workflow. In fact, over 55% of consumers say they prefer personalized AI videos, and something as simple as adding AI-generated subtitles can spike viewer retention by as much as 65%. For teams using a platform like Aeon, this means you can tap into AI not just for the visuals but to make your content far more engaging and effective.
Even PowerPoint itself has a built-in feature for live subtitles during a presentation, which just goes to show how critical this element has become. If you're looking for a step-by-step tutorial, we have a complete guide right here on https://project-aeon.com/blogs/how-to-add-captions-to-videos.
Optimizing Your Video For Every Social Platform
So you’ve created a slick video from your presentation. Great! But the job’s not quite done. Now you need to make sure people actually see it, and that means tailoring it for the specific places they hang out online.
Let's be real: a "one-size-fits-all" video strategy is a fast track to being ignored. Each social platform has its own rhythm, its own rules, and its own audience expectations. What works wonders on YouTube will fall completely flat in a frantic TikTok feed. Optimizing your video's specs for each channel is the final, crucial step that separates a high-performing asset from a total waste of effort.
Mastering The Aspect Ratio Game
One of the most jarring mistakes you can make is uploading a video with the wrong dimensions. It screams "I don't know what I'm doing," and worse, platforms will often crop it in awkward ways, slicing off vital text or visuals.
It’s actually pretty simple once you get the hang of it:
- YouTube & LinkedIn: For these platforms, the classic widescreen 16:9 aspect ratio is your go-to. It's the standard for most video exports and feels right at home for professional content and in-depth explainers.
- Instagram & Facebook Feeds: Think square. A 1:1 ratio is your best friend here. It dominates more screen real estate as users scroll, making your video that much harder to ignore.
- Instagram Stories, Reels & TikTok: It's all about vertical. A 9:16 full-screen format is non-negotiable. This is how you create that immersive, mobile-first experience people expect on these platforms.
Don't just take your 16:9 video and brutally crop it into a vertical box. A truly effective vertical video often means rethinking the layout. You'll likely need to re-frame key shots and reposition text to make sure everything lands perfectly in the new format.
Technical Specs That Matter
Beyond the shape of your video, a few other settings can make or break the viewing experience. Getting these right ensures your video looks crisp and professional, without forcing your audience to wait through annoying buffering.
Here’s what to focus on:
- Resolution: For almost every platform, 1080p (1920x1080) is the sweet spot. You get sharp, clear visuals without creating a monstrously large file that takes forever to upload and load.
- File Format: Stick with MP4. It's the universal language of online video, offering great quality with efficient compression. It just works, everywhere.
- Video Length: This is where you really have to know your audience. A detailed tutorial can thrive on YouTube, but a LinkedIn video should probably wrap up in under two minutes. And on TikTok? You’ve got about three seconds to hook someone before they swipe away.
For a super-detailed look at the latest requirements, I always keep this comprehensive social media video specs guide for 2025 handy. It's an essential resource that's constantly updated.
Here's a quick cheat sheet to help you keep things straight:
Video Export Settings Cheat Sheet For Social Media
This table is your quick reference for getting the core specs right across the most popular platforms. Nail these, and you're already ahead of the game.
Remember, a little planning goes a long way. When you convert your powerpoint into video, thinking about these final formats from the start will save you a massive headache later. By creating specific versions for each key platform, you give your hard work the best possible chance to get seen and shared.
Scaling Video Production While Maintaining Brand Control
Turning a single PowerPoint into a video is one thing. It works fine when you're just dealing with a one-off presentation. But what happens when you need to create dozens—or even hundreds—of them?
Suddenly, you’re creating videos for different sales teams, marketing campaigns, and a whole library of training modules. That manual process quickly becomes a massive bottleneck, bringing your content pipeline to a screeching halt and opening the door for all sorts of brand inconsistencies.
Scaling video production isn’t just about making things faster. It's about keeping a tight grip on your brand across every single asset. The real trick is making sure every video, no matter who creates it, sticks to the same visual playbook. For that, you need a centralized system. It stops being a "nice-to-have" and becomes absolutely essential for growth.
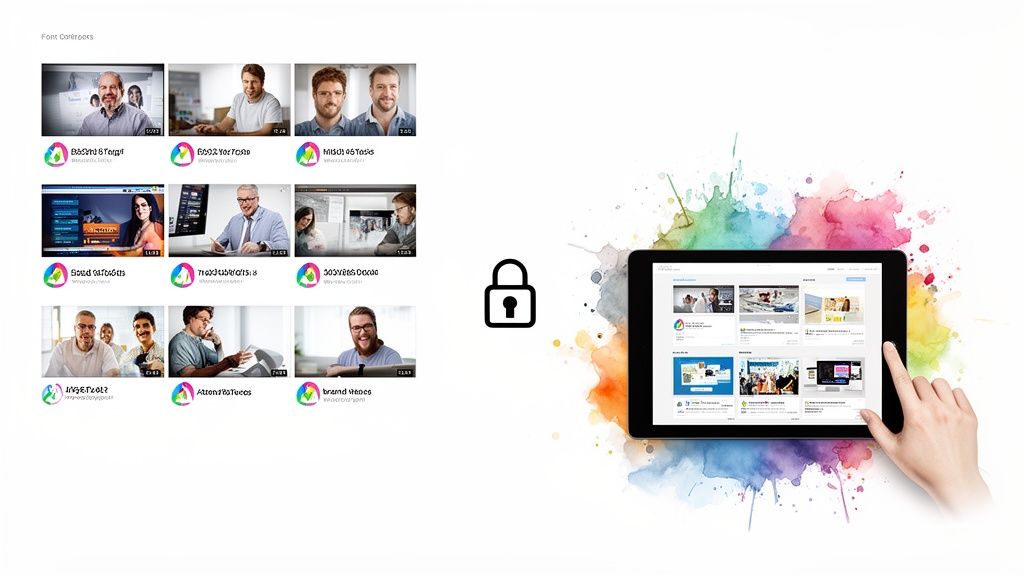
The Power of Templated Workflows
The secret to scaling smart is to ditch the ad-hoc creation process and lean into templates. Instead of forcing everyone to start from scratch, you give them pre-approved templates with all the core brand elements already locked in.
This move immediately enforces consistency across the board:
- Logo Placement and Size: The logo shows up in the right spot, at the right size, every single time. No exceptions.
- Color Palettes: Only approved brand colors are available for backgrounds, text, and graphics.
- Font Usage: All text defaults to the correct brand fonts and follows established hierarchies.
- Transitions and Animations: Branded intros, outros, and slide transitions are applied automatically, creating a seamless look.
This approach eliminates the guesswork and human error that can slowly chip away at your brand identity. It lets team members spin up content quickly without needing a designer to sign off on every little export.
Automating the Production Pipeline
Beyond basic templates, modern platforms like Aeon can automate the entire video creation pipeline from start to finish. Picture this: a team member uploads a simple PowerPoint file, and an AI-powered engine takes care of everything else.
This is how you transform a tedious manual task into a predictable, scalable content engine. By centralizing assets and automating the repetitive stuff, you get total editorial control while your team's output goes through the roof.
Think about the possibilities. A sales team could generate personalized video pitches from a standard deck, with the system automatically dropping in the prospect's name and company logo. A marketing team could batch-process an entire series of webinar slides, instantly reformatting them into bite-sized social media clips for different platforms.
This is the kind of automation that turns a simple PowerPoint into video conversion into a genuine strategic advantage. It guarantees that even when you’re producing at high volume, every video that goes out is polished, professional, and perfectly on-brand.
Common Questions About Converting PowerPoint To Video
Even with a solid plan, turning a PowerPoint into a video can throw you a few curveballs. It’s easy to get bogged down in the technical details, but trust me, most of these issues have pretty simple fixes. I’ve put together this quick FAQ to give you clear, actionable answers to the problems I see pop up most often.
Let's jump into the most common hurdles you're likely to face.
What Is The Best Resolution To Export My PowerPoint Video In?
For almost every professional scenario, stick with Full HD (1920x1080p). This is the gold standard for a reason—it strikes the perfect balance between crisp, clear quality and a file size that won’t crash your email server. It looks fantastic on YouTube, LinkedIn, and embedded right on your website.
Now, if you’re dealing with incredibly detailed visuals or designing for a massive tradeshow display, then bumping it up to 4K (3840x2160p) makes sense. But always think about where the video will ultimately live. While YouTube handles 4K beautifully, it’s complete overkill for a quick social media story or an email campaign. In those cases, 1080p is more than enough and guarantees a better, faster-loading experience for your audience.
How Can I Reduce The Video File Size Without Losing Quality?
This is all about smart compression and managing the bitrate. Inside PowerPoint's own export settings, you could choose a lower preset like "Internet Quality," but you'll definitely see a drop in visual clarity. It works in a pinch, but it's not ideal.
A much better approach is to use a dedicated tool after you export. I’m a huge fan of HandBrake. It's free and gives you granular control to lower the video's bitrate without any obvious quality loss.
An even more proactive step? Optimize your media before you even hit the export button. Go through your presentation and compress any huge images or audio files. Starting with a lighter .pptx file naturally leads to a smaller final video.
At the end of the day, your audience's experience is what matters most. A slightly less sharp video that loads instantly will always beat a pristine 4K file that buffers every five seconds. Find that sweet spot between quality and performance.
Can I Edit My Video After Exporting It From PowerPoint?
Yes, but with a major catch: you can’t change the actual slide content. Once your presentation is an MP4 file, the text, images, and charts are baked in. You can't just click on a text box and start typing.
For that kind of post-production work—like trimming clips, adding a new music track, or dropping in graphic overlays—you'll need a proper video editor. Tools like Adobe Premiere Pro or the free Clipchamp are perfect for this. But if you spot a typo or need to update a statistic on a slide, you have to go back to the original .pptx file, make your changes there, and re-export the whole thing.
Why Won't My Embedded Audio Or Video Play In The Final Export?
This is probably the most frustrating issue of them all, and it almost always comes down to two things: incompatible file formats or linked media.
First, check your files. PowerPoint plays best with standard, universally supported formats. That means MP4 for video and MP3 for audio. Anything else is a gamble.
Second, make sure your media is actually embedded, not just linked. If you dragged a video file in from a folder on your desktop, PowerPoint might just be pointing to that location. When you export, it loses the path and can't find the file.
Here's a great troubleshooting trick: go to File > Info and look for the "Optimize Media Compatibility" feature. PowerPoint will scan your presentation, flag any potential issues, and re-encode the files to make sure they play nice in the final video.
Ready to stop wrestling with manual conversions and actually scale your video production? Aeon uses a powerful combination of AI and expert-designed templates to help your team create professional, on-brand videos in minutes, not hours. It’s time to see what a fully automated content pipeline can do.